Software installation and updating are made simpler with this command line tool.
If you take the time to search for Mac software outside of the Mac App Store, you’ll probably come across mentions of “Homebrew.” It’s frequently mentioned as an alternative installation method for apps, sometimes on webpages but primarily on Github. Most Mac power users install it immediately, and it’s actually not that hard to use.
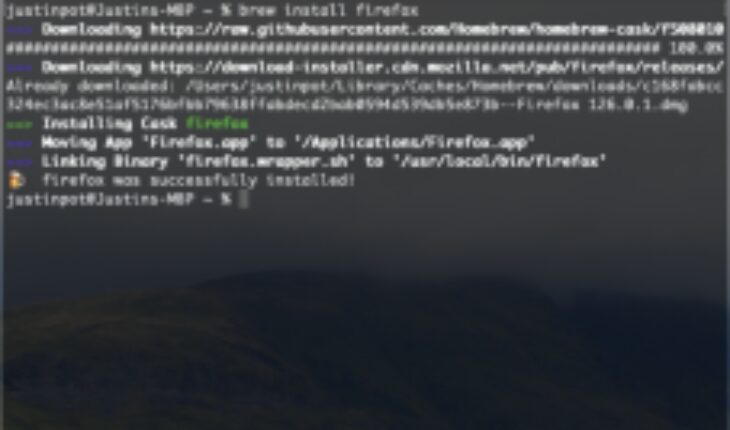
The issue with installing apps on a Mac is that it can take some time to locate and set up the necessary programs. To access the app, navigate to its website, download and mount the DMG, then drag the icon to the Applications folder. Certain apps require you to repeat this process each time an update is released. That’s not the case with Homebrew; once that’s configured, installing software only requires typing three commands in the Terminal: brew install followed by the name of the program, like brew install firefox. Press Enter, and Homebrew will locate and install the most recent version of Firefox on your computer. By adding additional application names to the end of the command, you can install many programs simultaneously.
Homebrew is designed specifically to be a package manager for Macs, but anyone familiar with Linux would recognize this as a “package manager,” which is essentially what all Linux-based operating systems use to install and manage software.
Configuring and initiating
It’s easy to install Homebrew on a fresh Mac; just visit the Homebrew homepage, brew.sh. There’s a script there that you can copy to the Terminal to have Homebrew installed. (It is far better for you to obtain the command straight from the source; I purposely am not including it here in case it changes.) Be careful to pay attention because the program does a wonderful job of describing all it is up to at every stage.
You can then utilize the software after that. Wget is a command line tool that I typically install first because Apple has strangely left it out of macOS. It allows you to download files. All I have to do to install the application is enter brew install wget; Homebrew takes care of the rest, downloading and installing the necessary software so I can use it right away.
Not sure if Homebrew offers a particular application? You may use brew search to find it. To find the package name, simply search for what you want. If that doesn’t work, you can try using the website’s directory to look for Homebrew software, which some users may find simpler.
Here are some additional commands you should be aware of when you begin using Homebrew: You can remove anything you’ve installed using Homebrew by running the command brew remove. Brew upgrade is a command that may be used to look for updates and install all of them.
Naturally, this is a very basic examination of homebrew. I urge you to explore the documentation if you’re interested in learning more about the extensive capabilities of this software. It’s one of those apps that you become accustomed to using and then you start to question how you lived without it.


