Same program where I was having the alignment issue, thanks for all the help on that. I’m now having another issue.
In my routine, I measure and align the part, then take some DCC measurements on the top, front, back, and left sides. Then I raise the probe, flip the part 180deg about the Y axis and place it back in the fixture, manually measure and realign so I can take DCC measurements on the new top side (previously bottom) and remaining Right side.
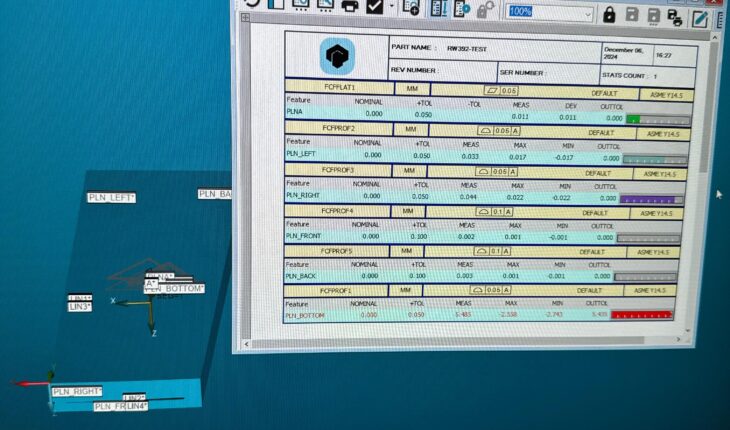
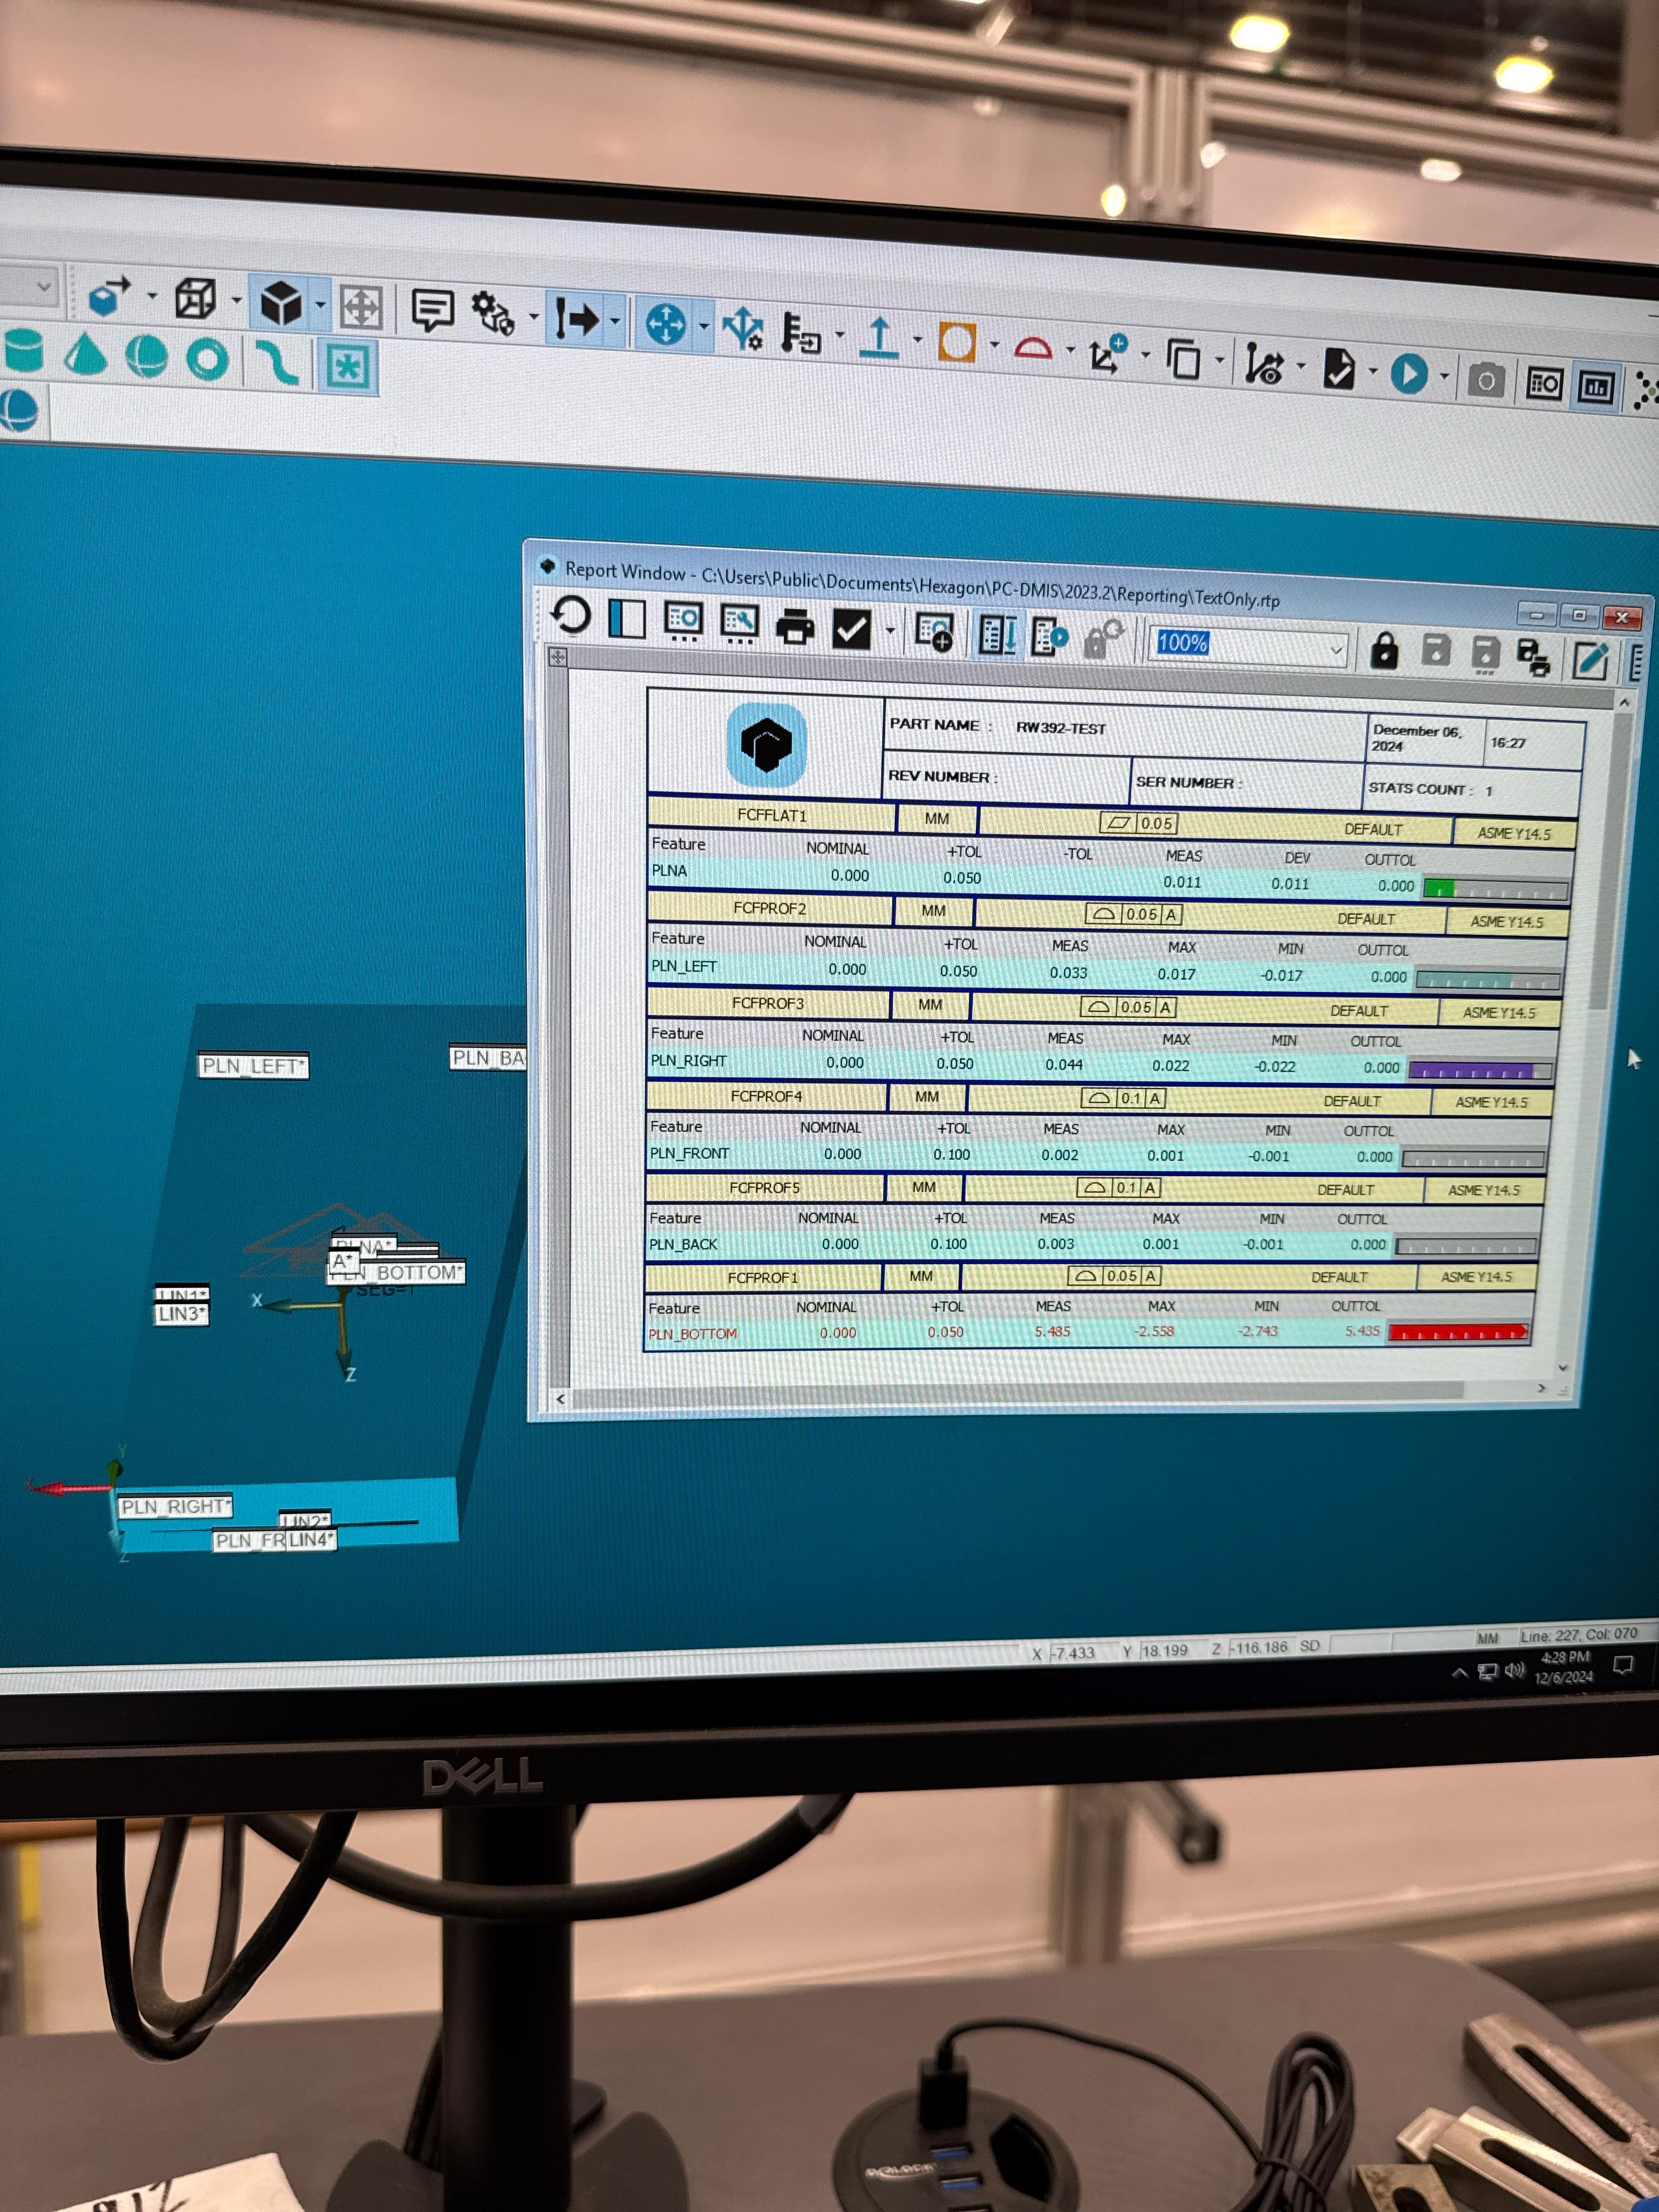
When dimensioned the profile of the bottom plane, my measured values are out of spec and showing about -5.48x, with the max and min each around -2.57x, which is the part thickness.
What could be causing this? The alignments seem fine, I even tried recalling the alignment used before flipping the part over, and offsetting the Z-axis -2.57 on the second alignment.
Any ideas?
submitted by /u/InnocentByestander
[visit reddit] [comments]
Source link


