You may have been led to believe that you don’t have to worry about computer viruses on your Mac. And, to some extent, there’s truth to that. While your Mac can definitely be infected with malware, Apple’s built-in malware detection and file quarantine capabilities should make it less likely that you’ll download and run malicious software.
Apple introduced malware detection to the macOS back in 2009 with Snow Leopard (Mac OS 10.6) so it’s been around for a while. This system consists of the quarantine of any app downloaded from the Internet, the use of Code Signing certificates to verify that an app is coming from a legitimate source, and regular security updates that include databases of known malware targeting the macOS.
If you want some tips to help you keep your Mac secure from any potential malware read: How to protect your Mac from malware. We also discuss How secure is a Mac and what to do if you think your Mac has a virus separately. Here we will discuss how you can check your Mac for viruses and how to run a Mac virus scan. Read on to find out more.
How Apple scans your Mac for viruses and malware
Before we explain what you need to do, we’ll explain what happens without you hardly having to do a thing.
Apple includes antivirus software in macOS that monitors your Mac for malware, blocks malware and removes it if necessary. There are three elements to this: XProtect, Gatekeeper and Notarization.
PROMOTION
Antivirus Deal: Intego Mac Premium Bundle
Get Intego’s Mac Premium Bundle X9 with antivirus, firewall, backup and system performance tools for just $29.99 (down from $84.99) for the first year. Intego is Macworld’s #1 choice of antivirus for Macs.
Apps are checked before they can be installed
Foundry
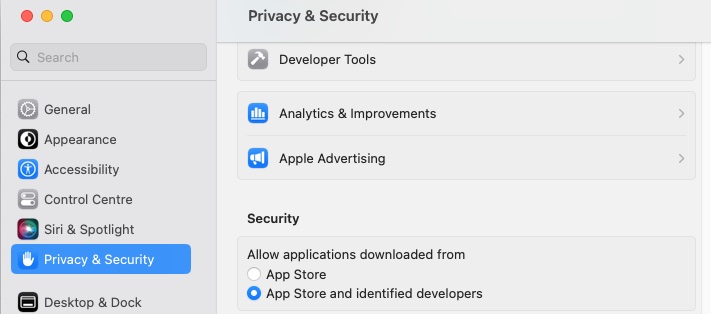
Apple makes it hard to install an app that might not be safe on a Mac. Mac users can choose to only install apps from the Mac App Store, which is the safest option as it means that the app has been thoroughly checked by Apple before being distributed.
Alternatively, there is an option to install apps from the App Store and identified developers. An identified developer is one whose software has been scanned by Apple to ensure it is safe. As long as the app has passed Apple’s tests it will have a Notarization ticket, which Gatekeeper looks for before telling macOS that it is safe to open.
If you only install apps from the Mac App Store, or notarised apps from identified developers, you should be safe, but sticking to the Mac App Store is the safest option as apps on the Mac App Store can’t be tampered with.
If you want to make sure your Mac can only install apps from the Mac App Store these are the steps to follow:
On Ventura or later:
- Open System Settings.
- Click on Privacy & Security.
- Scroll down to Security and select App Store below Allow applications downloaded from.
On Monterey or earlier:
- Open System Preferences.
- Click on Security & Privacy.
- Click on General.
- Under Allow applications downloaded from select App Store.
If you prefer to allow installations from outside the Mac App Store follow the same steps but choose App Store and identified developers from the options.
If you choose to allow installations from identified developers then Apple will look for evidence that the app is notarized and it will also verify that the app hasn’t been tampered with and no malware is present. Unfortunately in the past there have been apps that slipped through this process because a certificate was present, such as the case of the Shlayer malware, but Apple has ramped up security since and changes to notarized apps are pushed out as required.
If Gatekeeper detects that the app has no notarization to prove the developer is certified by Apple, a message saying the app can’t be opened because of your settings will be displayed. If you know that the software is from a legitimate developer you can override this and open the app. See: How to open a Mac app from an unidentified developer. However, you should be aware that even legitimate software has been known to conceal malware.
App Management stops unauthorized apps from making modifications
Foundry
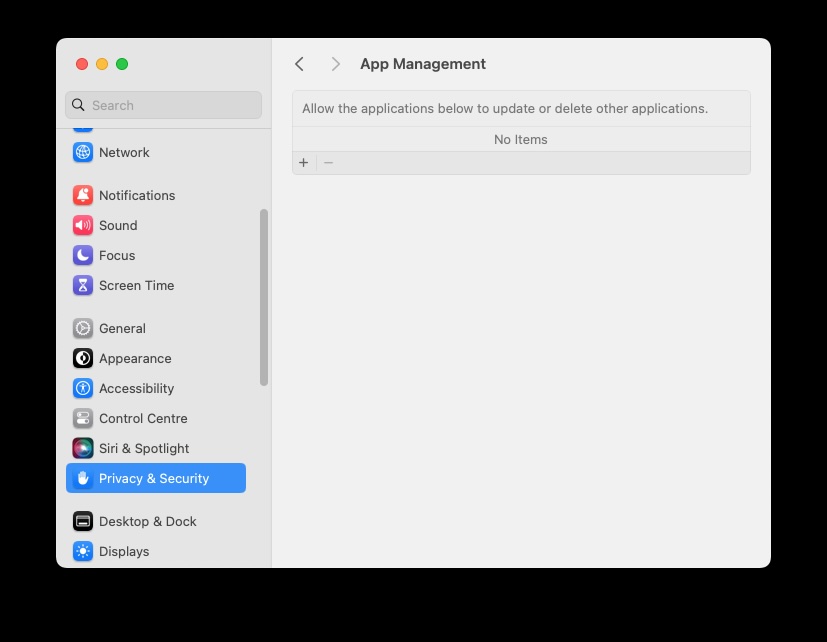
App Management is a privacy setting that arrived in macOS Ventura. It is intended to prevent malicious software modifications by watching for attempts by software to modify other apps. If this happens, App Management blocks the modification and alerts the user, who can allow it if applicable.
This means that apps can only be updated by the developer of that app. A modification from anyone else will be blocked.
In System Settings there is an option in Privacy & Security for App Management. Users see details of any activity that has been blocked here and can allow the applications to update or delete other applications if they feel that it isn’t malicious behavior.
XProtect blocks malware from running
Even if the developer is recognized by Apple, the software will still be checked against a list of known malware in XProtect. XProtect will scan an app the first time it launches and it will scan the app every time there is an update issued for it.
Updates to XProtect are pushed out frequently and macOS automatically checks for updates daily–a Mac user doesn’t even need to do anything as these updates are separate to macOS updates. This means that even the newest malware should be identified by XProtect, although Apple isn’t always as fast at getting this information updated as other antivirus solutions are. See our round-up of the Best Antivirus for Mac, which features Intego as our number one choice.
If malware is identified the app will be blocked and a message will appear giving the option to delete the software.
To take full advantage of XProtect you need to be running macOS Catalina (10.15) or later, but we would advise that, because Apple only supports the last three versions of macOS, you will be safest if you are running macOS Monterey, Ventura or Sonoma.
You should make sure your Mac is set to receive these updates automatically by following these steps:
In Ventura or later:
- Open System Settings.
- Go to General > Software Update.
- Click on the i beside Automatic updates and check that Install Security Responses and System Files is selected.
In Monterey or older:
- Open System Preferences.
- Click on Software Update.
- Click on Advanced.
- Make sure the box beside Install system data files and security updates is selected.
Malware is removed by XProtect Remediator
Foundry
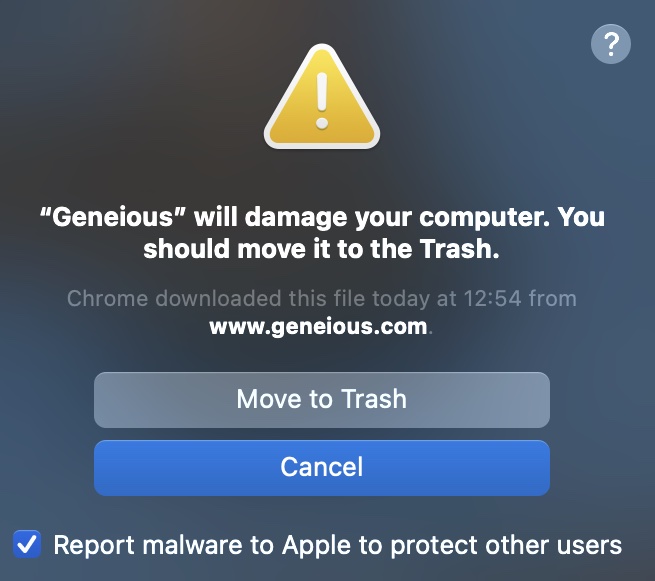
When malware is identified on a Mac the user sees an alert suggesting that the affected app has been moved to the trash. The user is also asked to alert others to the malware, which they can do automatically. This doesn’t mean it is entirely down to the user to delete the app and remove the malware though.
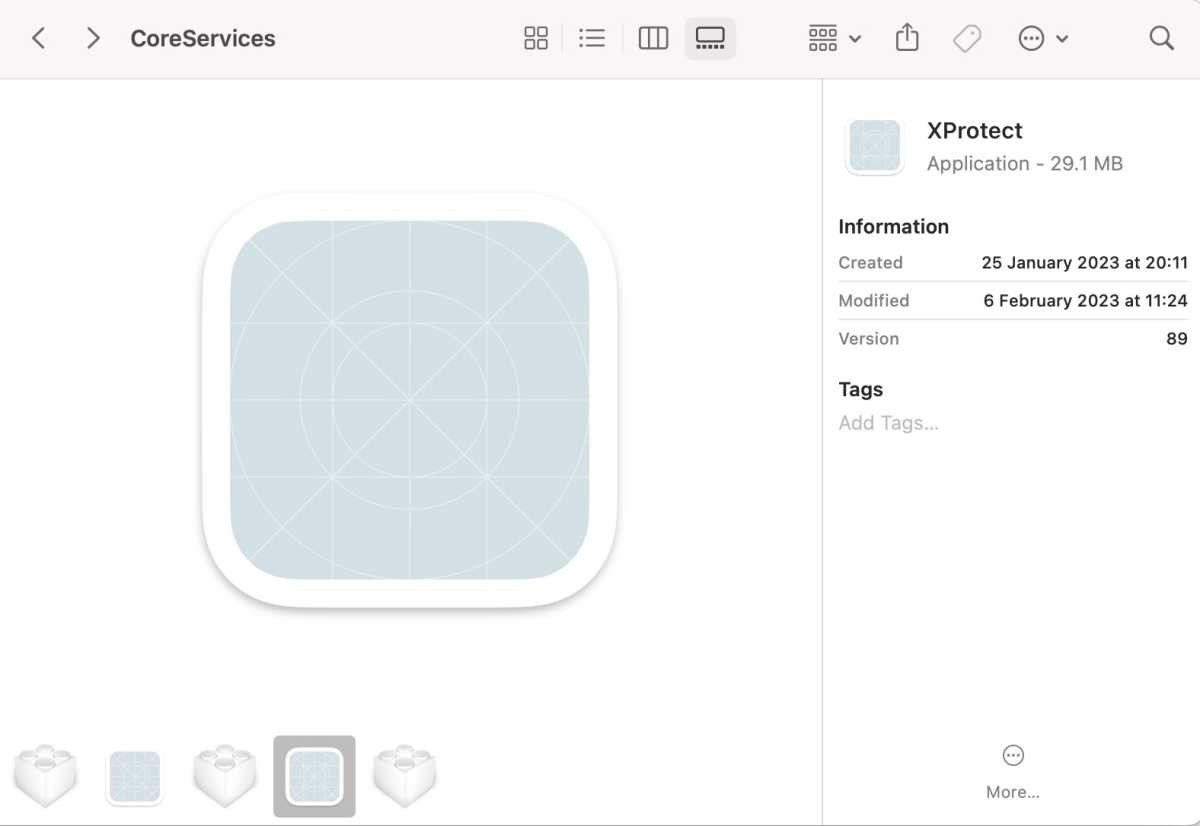
The removal used to involve a separate Malware Removal Tool (MRT) found in /Library/System, but it wasn’t an app users could run. However, since macOS Monterey MRT was replaced by an XProtect Remediator that scans for and removes malware.
XProtect Remediator will scan your Mac at least once a day or more, and is updated much more frequently than MRT was–since MRT is no longer updated it is a good reason to make sure you are running macOS Catalina or later.
XProtect Remediator will attempt to remedy or remove malware.
The developer loses certificate and app loses notarization
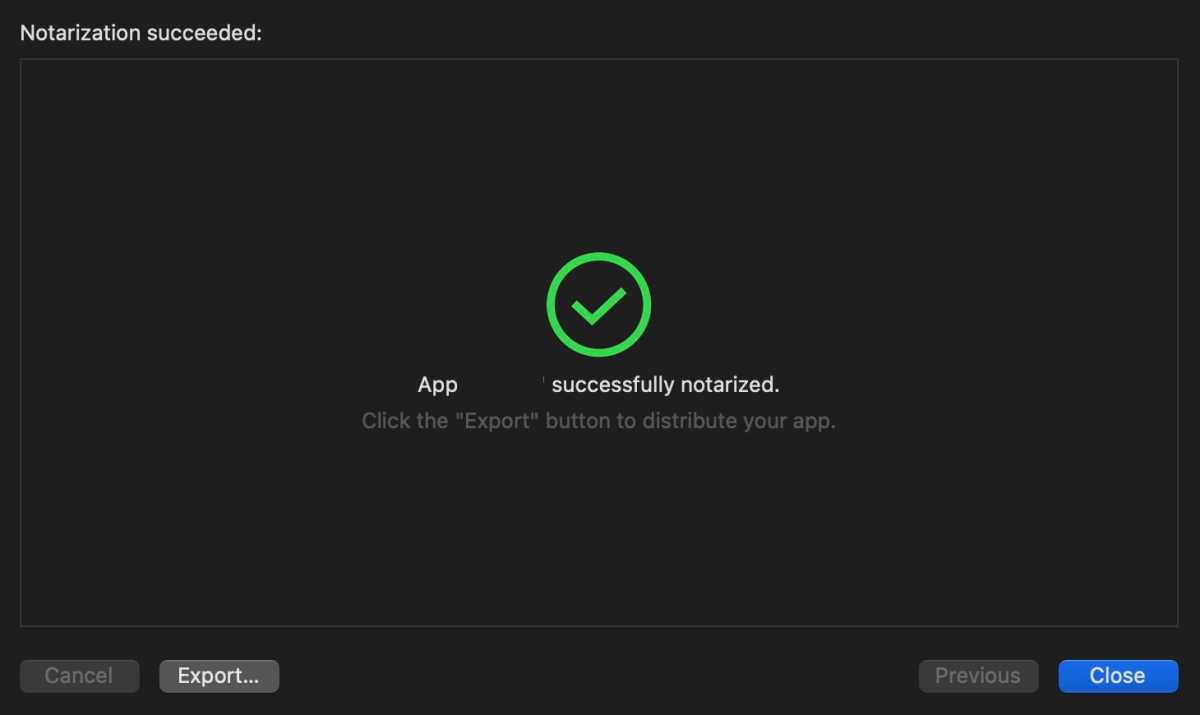
If an app had been notorized by Apple but malware is identified that developer will lose the certificate that allows them to distribute apps and the app will lose its notarization.
This change to the notarization is then pushed to other Mac users so that Gatekeeper knows not to allow that app to be opened.
macOS checks for XProtect updates daily, but Notarization updates are issued even more frequently, so if malware is detected, or an app loses its Notarization, Mac users should quickly be protected.
Is Apple’s protection enough?

Foundry
If Mac users rely solely on XProtect and Apple’s other protections there are limitations in comparison to other anti-malware solutions, which are updated more regularly and have teams of specialists working on identifying malware.
The protection offered by XProtect is also more basic than that of third-party anti-malware apps that can also protect you from phishing, social networking scams, and they can protect your Windows using friends. We make various recommendations in our test of the top Mac antivirus apps.
XProtect is updated more frequently than it was–which was one of the main criticisms–but other malware apps check for malware constantly. XProtect only checks for malware when an app is downloaded for the first time, if the app is updated and if the status of the developer signature or app notarization changes.
Apple’s protections should keep your Mac free from most malicious software, but they do not make it impossible for malicious software to be installed on your Mac. If new malware is released today and you download and run it today you will have done so before Apple’s databases could have been updated. So it’s always best to be wise when downloading software from unknown sources.
As we argue in a separate article: Macs do need antivirus software despite Apple’s protections in macOS.
How to run a Mac virus scan
macOS will automatically scan your Mac for any malware definitions that features in XProtect, you can’t force it to do this. If you wish to enhance the protection to include other kinds of malware and scan for Windows viruses so there is no danger of passing them on, then you would be wise to install a third-party anti-malware app.
There are lots of third-party apps that can to scan your Mac for viruses, including some free options and many that offer a free trial period.
Before you can scan your Mac for viruses you may need to visit the Privacy & Security in System Settings or Security & Privacy in System Preferences to allow access. For example, in the case of Avira we had to click on Allow to let it scan our system. You will also need to allow Full Disk Access, which can also be done in Privacy & Security.
Initiating a virus scan is an easy process that usually begins with the user clicking a Scan or Smart Scan button.
Expect the scan to take a while if there is a lot of data on your Mac.
These are the steps we went through to run a scan with Avira Free Security for Mac (read our review):
Foundry
- Download Avira Avira Free Security for Mac here.
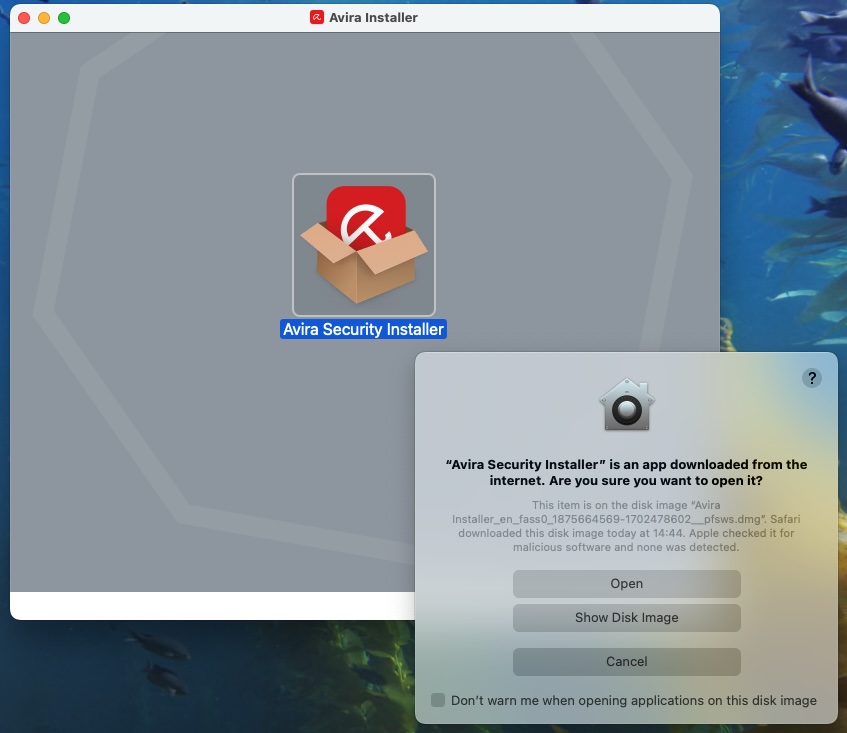
- Find the installer in your Downloads folder. Click on it.
- The installer window will open. Double-click on the Avira Security Installer.
- Click on Open.
- The installer will open. Click Accept & Install. Wait while it installs.
- Press Command and Spacebar and start typing Avira to find and open Avira Free Security.
- You need to allow the software to scan your Mac (this is the case with all antivirus apps), so click Open Full Disk Access.
- A System Settings window will open in Full Disk Access. You need to make sure that the slider beside both Avira Scan Service and Avira Security Helper is on. Enter your password to allow this.
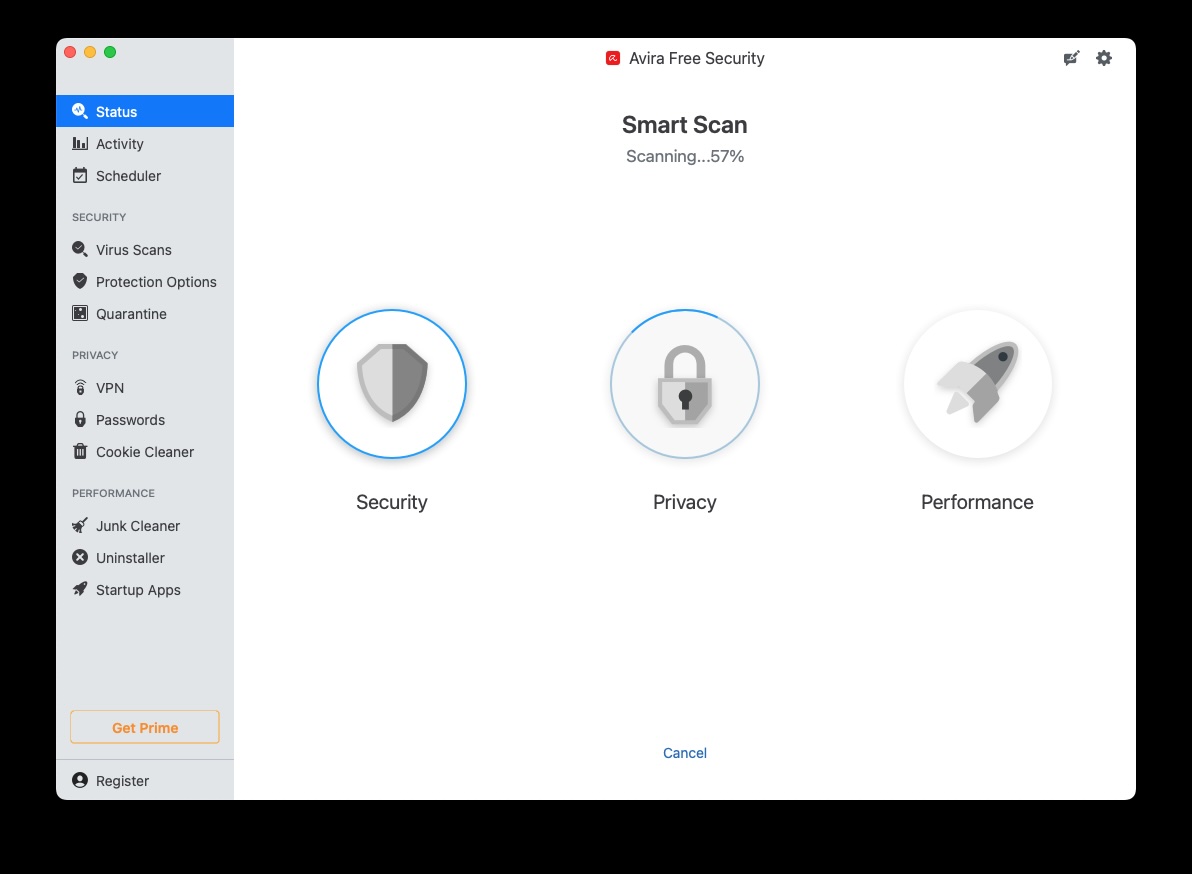
- Now you can run a scan for viruses. Click on the Start Smart Scan button and wait.
- You can then choose to ‘Fix issues’ and the Scan will remove some cookies and free up some gigabytes of space without you needing to pay anything.
When we ran Avira it didn’t find any viruses, but it did find 487 tracking cookies and indicated that we could free up 2.13 GB of space.
If you do encounter any viruses there is a free 60-day trial, so you could take advantage of the trial and then cancel it before the 60 days are up and the subscription period starts.
Foundry
Best free Mac Antivirus
Here is our pick of the best free Antivirus options if you don’t want to pay to scan your Mac for viruses.
Each month we track the best Antivirus for Mac deals as well.
Best apps to check a Mac for viruses
The best antivirus protection is paid for though. We have lots of options in our round up of the best antivirus solutions for Mac, here are few:
1. Intego Mac Internet Security X9
Price When Reviewed:
From $24.99 for first year, usually $49.99 a year (1 Mac) Using our link
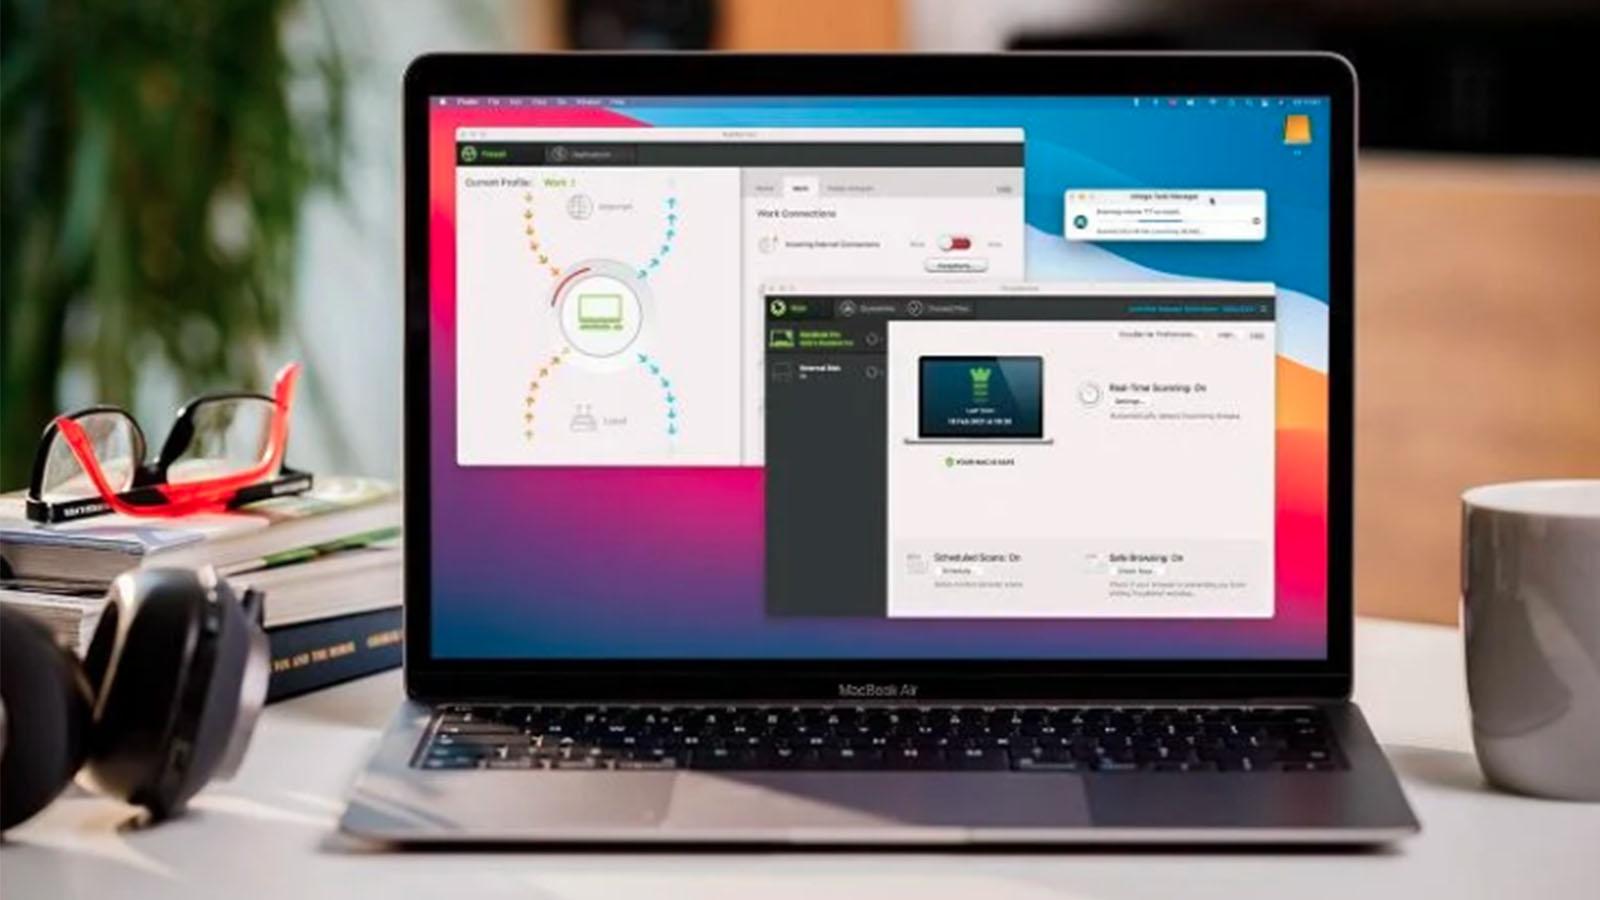
Intego Mac Internet Security X9 offers a useful set of security utilities that help keep your Mac safe and running smoothly and its user-friendly interface is right at home with Apple’s macOS aesthetic.
Read our full
Intego Mac Internet Security X9 review
2. AVG AntiVirus for Mac
Price When Reviewed:
Free download
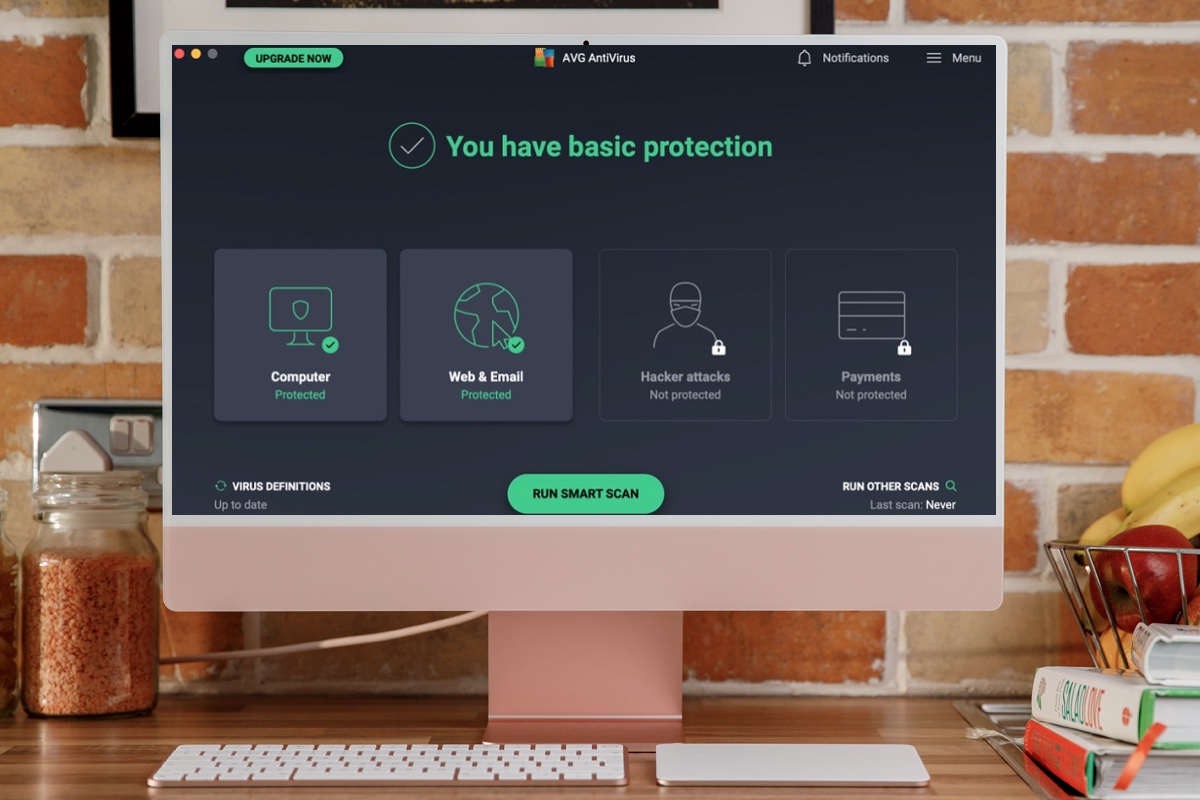
AVG Internet Security for Mac catches an impressive amount of viral, phishing, and malware activity for a consumer package, and does its job well, all while wrapped in a bright, friendly user interface that’s easy to navigate.
Read our full
AVG AntiVirus for Mac review
3. Avast Premium Security
Price When Reviewed:
From $50.28 for first year, usually $77.99 a year (1 Mac).
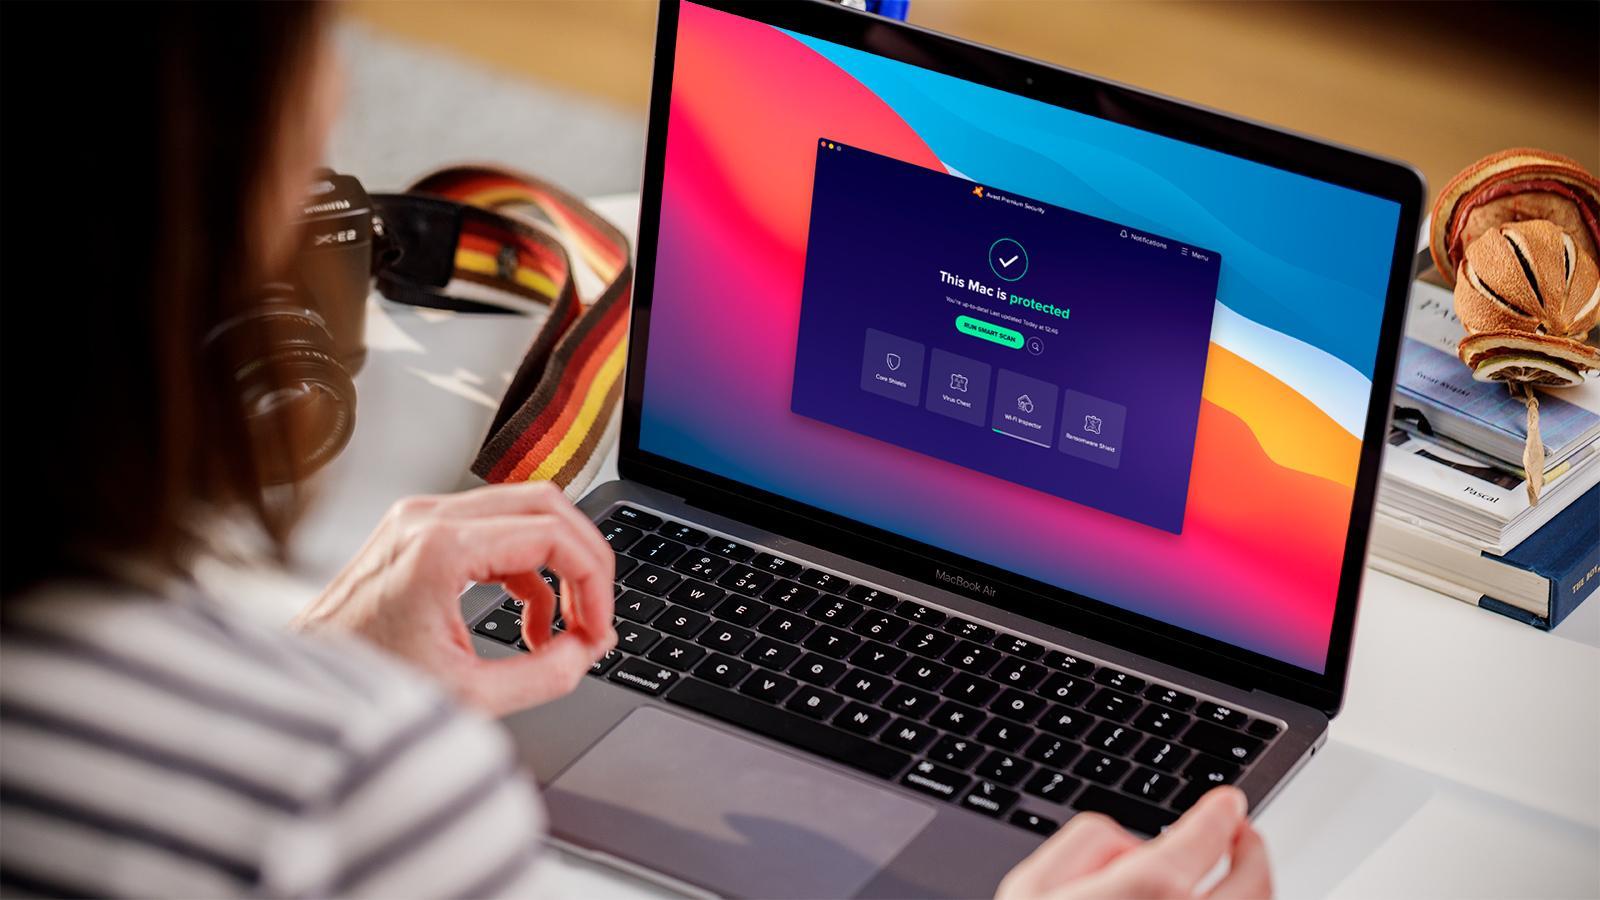
This suite offers a good suite of tools at a good price. The best functions such as VPN, disk cleanup, and anti-tracking tools are only available on the “Ultimate” subscription tier.
Read our full
Avast Premium Security review
4. McAfee Total Protection
Price When Reviewed:
Single: $29.99 (1 device) for first year, usually $89.99 \ Essential: $24.99 (5 devices) for first year, usually $119.99 a year
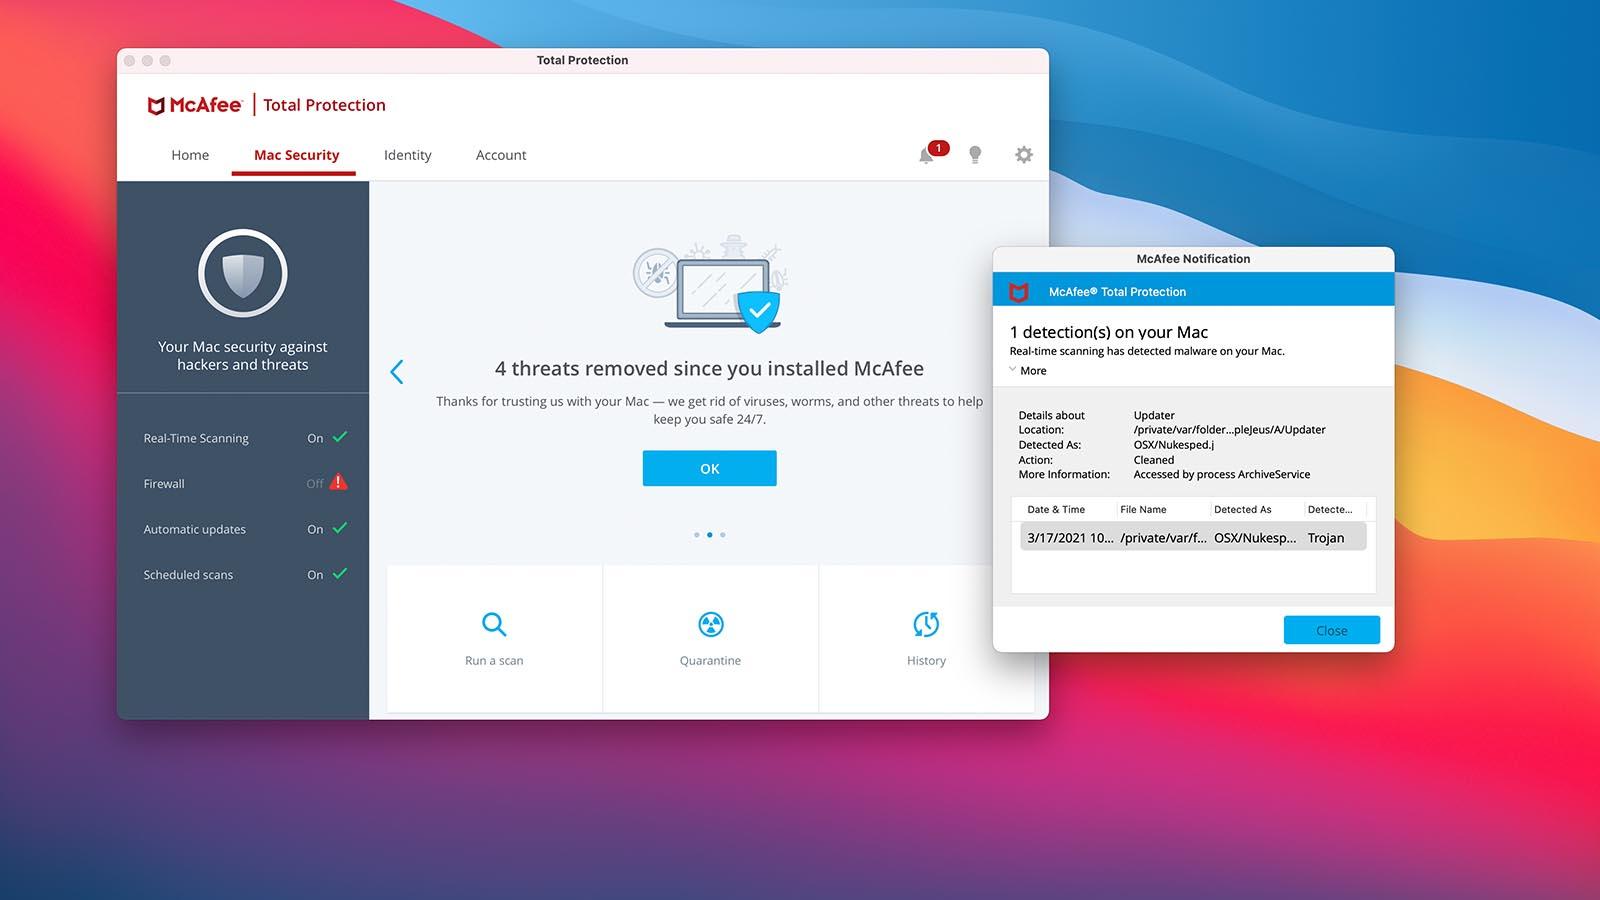
McAfee Total Protection offers some good tools with good background protection and customization as well as an easy means of keeping your devices secure.
Read our full
McAfee Total Protection review


