Capturing Screenshots is quite helpful in many scenarios, such as if we want to save an image online, an error message, or while creating online tutorials as we do for our website. The default way, or I say the key on the keyboard used to capture screenshots quickly, is Print Screen; however, the key drawback of this way of taking screenshots is it captures complete display screenshots and doesn’t provide an option to select some particular area on the screen to save as an image or screenshot.
Hence, in this article, we go through the multiple ways for Windows 11 or 10 to capture your screen without relying on the PrintScreen key.
8 Ways to Capture ScreenShots on Windows 11 or 10 without PrintScreen
1. Using Snipping Tool
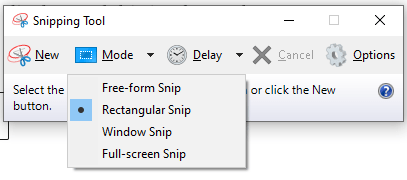
The Snipping Tool is one of the best and default tools available on Windows 11 and 10 for capturing screenshots by selecting a specific part of the OS display, and this is what makes it quite useful.
To use the Snipping tool on Windows, follow the given steps.
- Press
Win + Sto open the Windows Search bar. - Once you have the search bar, type Snipping Tool, which will appear in the app list.
- Select the Snipping tool and click New to capture a Screenshot.
- However, the tool will not directly capture the whole screen. Instead, you will have a blur screen and a tool to select a particular area on your Windows display.
- Apart from the default option, there are multiple modes to capture the screenshot in different area formats, such as:
- Rectangular Snip: Select a rectangular area.
- Freeform Snip: Draw a custom shape.
- Window Snip: Capture a specific window.
- Fullscreen Snip: Capture the entire screen.
- Once captured, the screenshot will appear in the Snipping Tool editor, where you can annotate or save it.

2. Using Windows + Shift + S Shortcut
The latest versions of Windows 11 include another handy utility in addition to the Snipping tool. This utility can be operated using a handy keyboard shortcut for quick screenshots without needing the Print Screen button.
How to use the Windows Screenshot tool:
- Press
Win + Shift + S. - Just like Snipping, your screen will dim, and a small toolbar will appear at the top of the screen with the following options:
- Rectangular Snip
- Freeform Snip
- Window Snip
- Full-screen Snip
- Select the area you want to capture on the screen and save it in the Windows default “Pictures” folder.
- The screenshot will be copied to your clipboard, so those who want to edit can directly open an app like Paint, Word, or an image editor and paste the screenshot using
Ctrl + Vto save or edit it.

3. Using the Xbox Game Bar
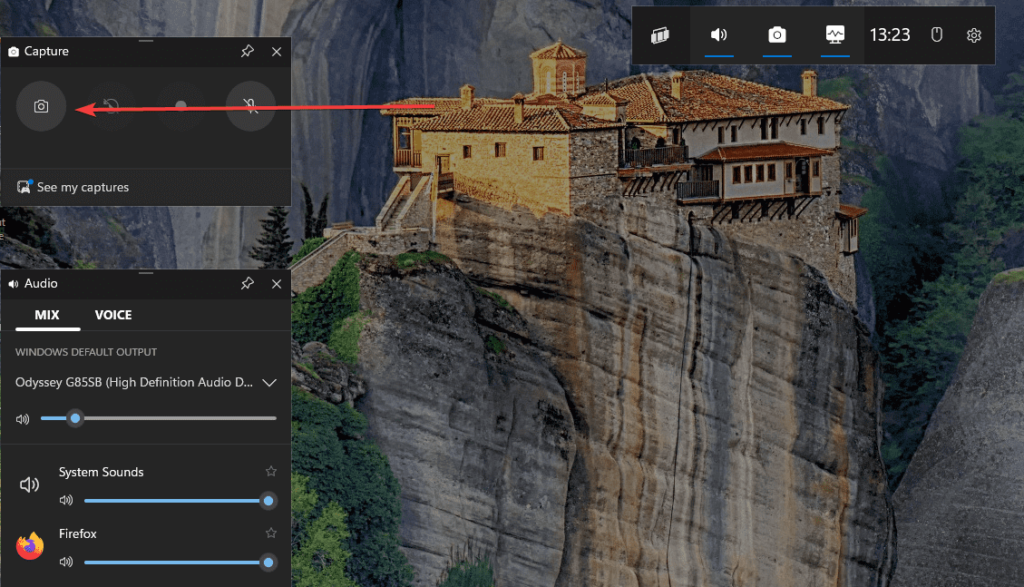
The Xbox Game Bar, primarily designed for gaming, can also capture screenshots of any application or desktop screen.
How to use the Xbox Game bar to capture Screenshots:
- Press
Win + Gto open the Xbox Game Bar. - Click the Capture widget (camera icon).
- In the widget, click the Screenshot button to capture the current screen.
- Screenshots are automatically saved to:
C:\Users\[Your Username]\Videos\Captures

8. Using Snip & Sketch for Advanced Options
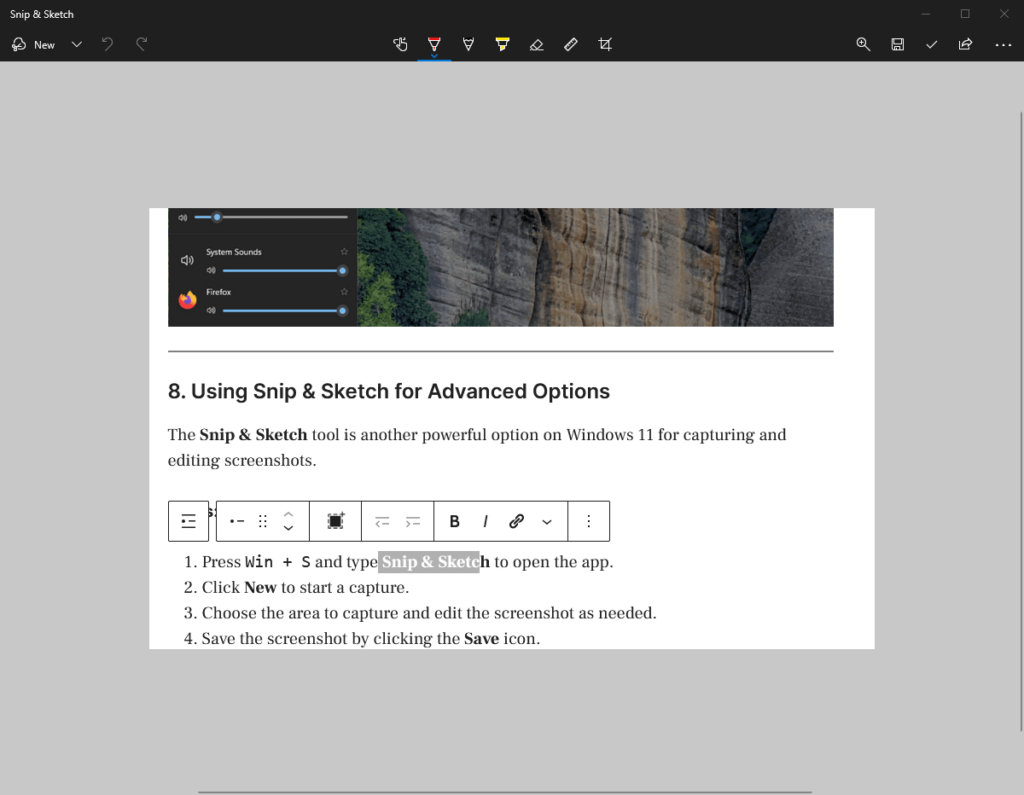
The Snip & Sketch tool is another powerful option on Windows 11 for capturing and editing screenshots. This tool’s advantage over Windows’ snipping tool is that it offers options to perform basic screenshot editing without moving to any other image editor.
How to use the Snip & Sketch tool:
- Press
Win + Sand type Snip & Sketch to open the app. - Click New to start a capture.
- Choose the area to capture and edit the screenshot as needed.
- Save the screenshot by clicking the Save icon.

4. Using Third-Party Screenshot Tools
We already have multiple built-in tools on Windows 11 for taking screenshots; however, if those tools cannot meet your daily demands, try out some third-party tools. They provide advanced features like delayed captures, scrolling screenshots, and editing. Here are some.
Popular Screenshots Tools for Windows
- Greenshot: Lightweight and free, it offers multiple capture options.
- ShareX: A powerful tool with advanced editing and sharing features.
- Lightshot: Simple and intuitive for quick captures.
5. Using Microsoft Edge for Web Screenshots
Microsoft Edge includes a built-in Web Capture feature to capture a webpage.
Steps to use Microsoft Edge for Capturing Website screenshots:
- Open the webpage in Microsoft Edge.
- Press
Ctrl + Shift + Sor click the Web Capture icon in the toolbar. - Select either Free Select or Full Page.
- Save the screenshot or copy it to the clipboard.
6. Using Virtual Keyboard for Print Screen
You can access the on-screen keyboard if you don’t have a physical Print Screen button.
How to open the virtual keyboard to capture screenshots:
- Press
Win + Ctrl + Oto open the On-Screen Keyboard. - Locate the PrtScn button on the virtual keyboard.
- Click it to capture the screen.
- Paste the screenshot in an app like Paint or Word to save it.
7. Using Windows + Volume Down (for Tablets)
For Windows 11 tablets, the Windows + Volume Down combination works similarly to the Print Screen button.
Steps:
- Press the Windows logo and Volume Down buttons simultaneously.
- The screen will dim briefly, indicating a screenshot has been taken.
- The screenshot is saved in the Screenshots folder under Pictures.
Conclusion
Taking screenshots on Windows 11 without a Print Screen button is simple and has multiple ways. Even Windows 11 offers many tools that make capturing the image of the screen quick. Hence, whether you use built-tool software such as the Snipping Tool, keyboard shortcuts, or third-party apps, there’s always a method to suit your needs.
Other Articles:


