

OpenSSL is generally a requirement for developers, sysadmins, and security professionals who work with applications that require SSL/TLS encryption. Whether you need OpenSSL for web development, certificate management, remote connections, or other cryptographic operations, getting it on Linux is quite easy; however, what about Windows 11 or 10? Although OpenSSL doesn’t come pre-installed, there is a simple way to get it on Windows 11, and in this article, we discuss that.
Methods we are going to discuss in this tutorial for Windows 11 OpenSSL setup:
✅ Using a Precompiled OpenSSL Installer (Recommended for Beginners)
✅ Building OpenSSL from Source (For Advanced Users & Developers)
Method 1: Install OpenSSL on Windows 11 or 10 using Winget
We can install OpenSSL using Command Prompt or PowerShell on Windows 11 or 10 apart from the graphical user interface. Let’s know how to use both:
For Command Prompt or PowerShell:
Users who want to use the command line to install the OpenSSL can use WIndow’s built-in package manager called “Winget.” Here are the steps to follow:
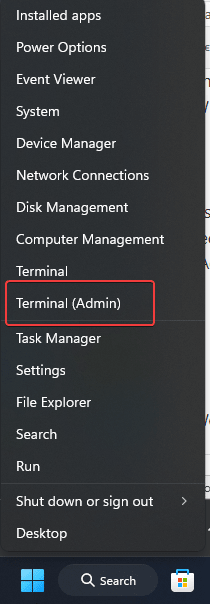
Step 1: Open the command terminal. Right-click the Start button and select “Terminal (Admin)” from the open Power Menu.
Step 2: Check whether Winget is available; for that, type the given command. If it will return with the version details or help section, confirming that the package manager is available on your Windows 11 or 10 system.
winget -vStep 3: Search for the OpenSSL using Winget to confirm the package name and its availability. Type:
winget search opensslYou will see the package name as shown in the screenshot from ShiningLight.OpenSSL.Light.

Step 4: Install OpenSSL using the given Winget command. This is the fastest way to get the pre-compiled binary for Windows OS.
winget install ShiningLight.OpenSSL.LightGet OpenSSL using a Graphical user interface.
For those who don’t want to use the command line, instead graphical user interface to get the OpenSSL on Windows:
Step 1: Download the graphical installer of OpenSSL for Windows 32-bit or 64-bit version by visiting the “slproweb. This website provides trusted, up-to-date OpenSSL binaries for Windows.
Step 2: Scroll down “Download Win32/Win64 OpenSSL” section and choose the Right Version:
- Win64 OpenSSL v3.x.x (EXE) → For 64-bit Windows 11
- Win32 OpenSSL v3.x.x (EXE) → For 32-bit Windows (rarely needed)
📌 Pro Tip: Most modern Windows 11 systems are 64-bit, so choose the Win64 version unless you’re running a legacy system.
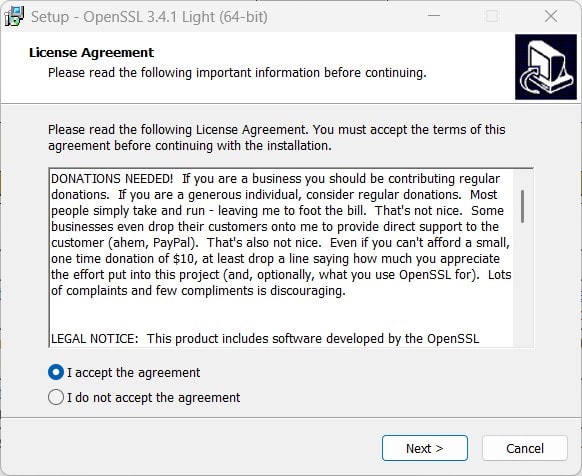
Step 3: Once you have downloaded the installer, run the .exe file by double-clicking it. Then, accept the License Agreement and click Next.
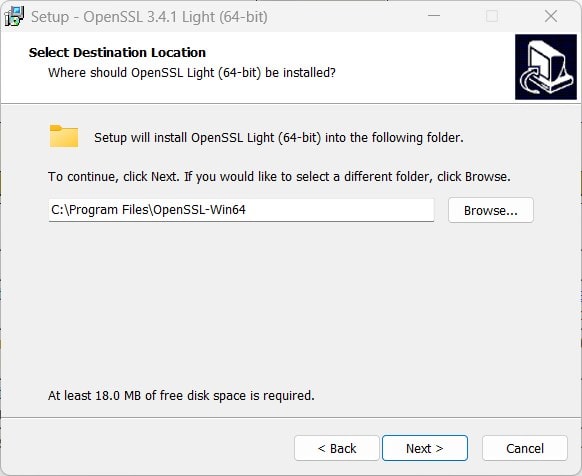
Step 3: Choose an Installation Directory, if needed; otherwise, leave the default location as it is, which C:\Program Files\OpenSSL-Win64\
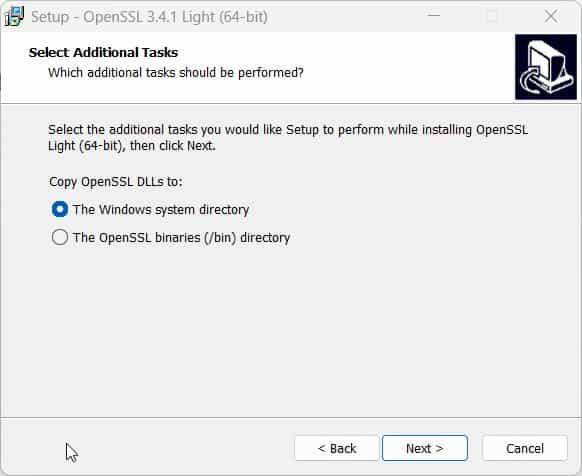
Step 4: The installation wizard will ask you to Select “Copy OpenSSL DLLs to the System Directory.” We are choosing this option because it makes access to OpenSSL easier.
Step 5: Finally, click the Next butt and complete the installation process.
Add or Configure OpenSSL to Windows 11 System PATH
Even after successful installation, you won’t be able to use the OpenSSL commands in your Prompt or PowerShell because the system doesn’t know where it was installed. Therefore, add an OpenSSL folder path to your system’s variable to use its commands.
How to Add OpenSSL to the System PATH:
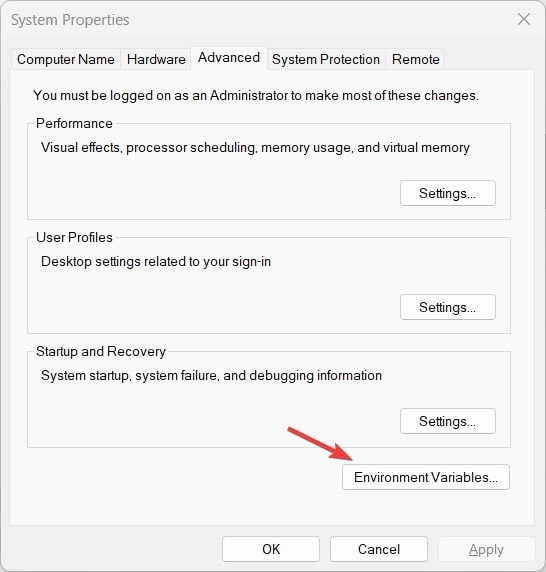
Step 1: Open Environment Variables: for that press Win + R, type sysdm.cpl, and hit Enter.
Step 2: On the System Properties window, go to the Advanced tab and click Environment Variables.
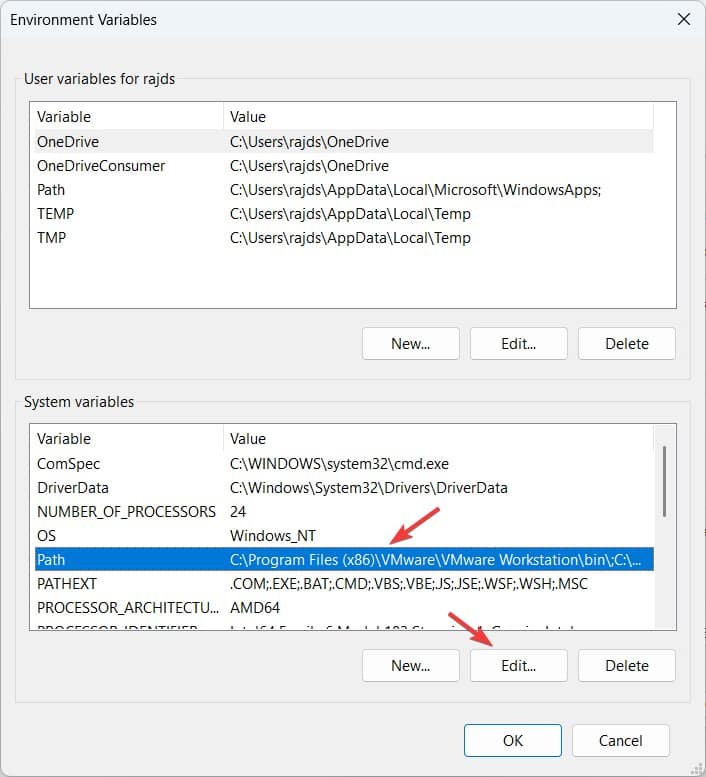
Step 3: Find the “Path” Variable under the System Variables section, select the Path item, and click Edit.
Step 4: Add OpenSSL’s Installation Path, which is the directory where Windows has installed it. So, click New and enter the given OpenSSL’s bin folder path. Click OK to save changes. Note: If you have installed OpenSSL at some custom location, add that folder path instead of the given one.
C:\Program Files\OpenSSL-Win64\bin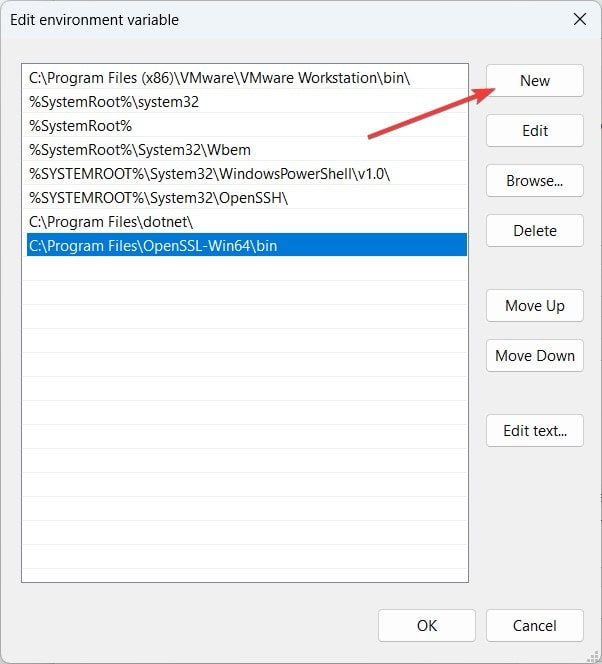
Verify OpenSSL Installation
Open the Command Prompt or PowerShell (if already opened the first, close and reopen it). After that, type the given syntax; if everything works correctly, you will get the version details, as shown in the following screenshot.
openssl version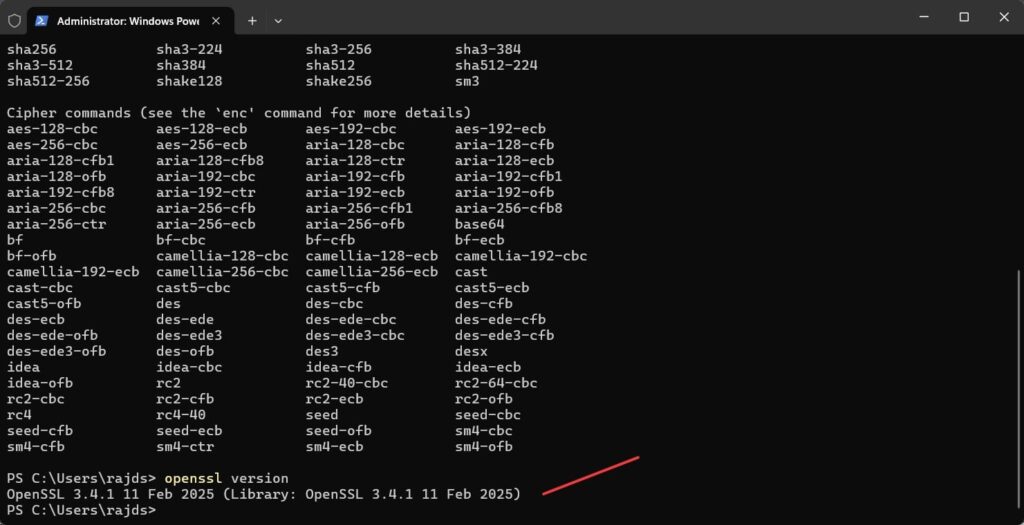
✅ Congratulations! OpenSSL is now installed on your Windows 11 system! 🎉
📌 Pro Tip: If CMD says “openssl is not recognized”, make sure you added it to the system PATH (Step 3).
Method 2: Build OpenSSL from Source (For Developers & Advanced Users)
This method is specifically for advanced users who want to make some custom configurations because the given steps will discuss how we can compile OpenSSL from a source using Microsoft Visual Studio and Perl.
Step 1: Install Required Dependencies
1️⃣ Install Visual Studio (with C++ build tools): Download from https://visualstudio.microsoft.com/. Select “Desktop development with C++” during installation.
2️⃣ Install Perl (Strawberry Perl Recommended): Download from http://strawberryperl.com/. or use the Winget command:
winget install StrawberryPerl.StrawberryPerl3️⃣ Install NASM (Netwide Assembler) by downloading the setup https://www.nasm.us/. from the official website or directly use the given command.
wignet install NASM.NASM4️⃣ Install git to clone the source code from the OpenSSL repository:
winget install Git.GitStep 2: Download OpenSSL Source Code
1️⃣ Open Command Prompt and navigate to your desired folder or to the root drive using:
cd\2️⃣ Clone the OpenSSL repository:
git clone https://github.com/openssl/openssl.git
cd openssl
Step 3: Build OpenSSL
1️⃣ Configure OpenSSL:
perl Configure VC-WIN64A2️⃣ Build OpenSSL:
nmake3️⃣ Install OpenSSL:
nmake install✅ Now, you have a custom-built OpenSSL on your Windows 11 system! For more details, check out the official GitHub page.
📌 Pro Tip: If you’re not a developer, stick to Method 1 (Precompiled Installer), as it’s much more manageable.
🔹 Frequently Asked Questions (FAQs)
1. How do I check if OpenSSL is installed on Windows 11?
Open Command Prompt on your Windows and type the given command. If OpenSSL is installed, you will see the details of the version number.
openssl version2. How do I update OpenSSL on Windows 11?
To update OpenSSL:
1️⃣ Uninstall the old version from Control Panel.
2️⃣ Download and install the latest OpenSSL version using Method 1.
3️⃣ Restart your PC to apply changes.
3. How do I use OpenSSL to generate SSL certificates?
You can generate an SSL certificate using:
openssl req -new -x509 -nodes -days 365 -out mycert.pem -keyout mykey.pemReplace mycert.pem and mykey.pem with your preferred filenames.
Conclusion
Everyone does not need to install OpenSSL on Windows 11 or 10; however, if you are in the development field, using Method 1 will be pretty easy for security, encryption, and development tasks. Nevertheless, whether you choose Method 1 (Precompiled Installer recommended to beginners and general users) because of convenience or Method 2 (Build from Source recommended for Developers and Power Users) for customization, you will have a working OpenSSL setup on Windows OS.


