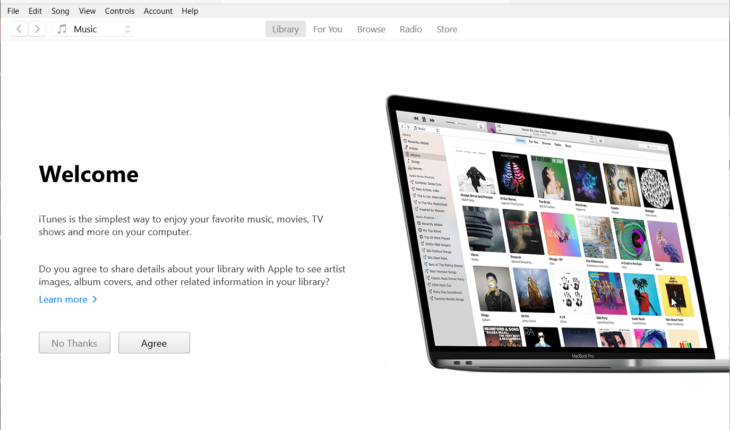
iTunes doesn’t need an introduction; it is a popular software from APPLE to manage music, movies, and iOS devices. Installing this popular media player and library application from Apple is not complicated and can be done quickly on Windows 11, like any other software. However, if you don’t know how, we learn the steps for installing iTunes on Windows 11 in this simple tutorial, which can be done using either the graphical user interface (GUI) or the command line.
Method 1: Installing iTunes Using the GUI (Graphical User Interface)
Steps:
- Open the Microsoft Store:
- Press Windows + S to open the search bar.
- Type Microsoft Store and click on it to open.
- Search for iTunes:
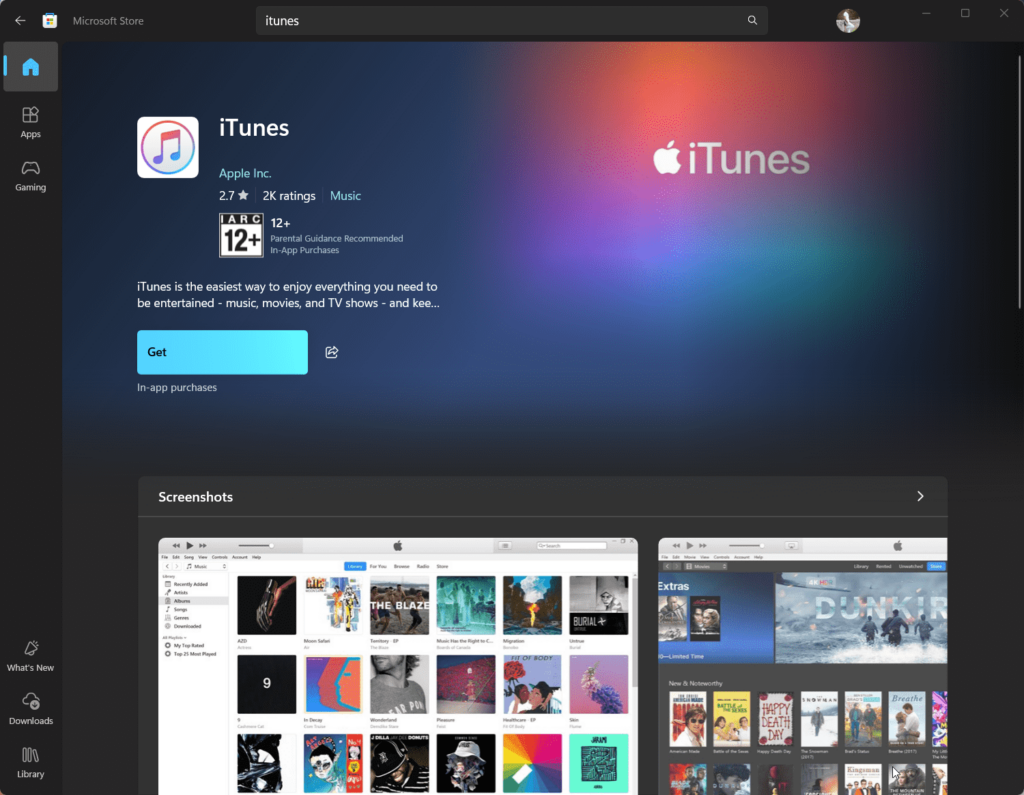
- In the Microsoft Store, type iTunes in the search bar at the top.
- Select iTunes from the search results.
- Download iTunes:
- Click the Get or Install button.
- Wait for the download and installation process to complete.
- Launch iTunes:
- Once installed, click Open from the Microsoft Store or find iTunes in the Start Menu.
- Sign in with your Apple ID to access your library or set up iTunes.
Method 2: Installing iTunes on Windows 11 Using the Command Line
Steps:
- Open PowerShell or Command Prompt:
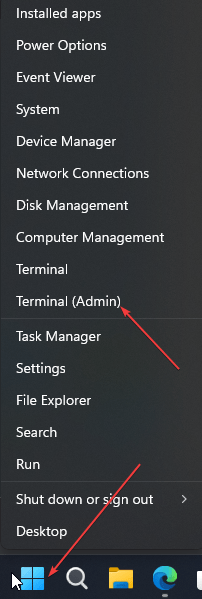
- Press Windows + X and select Windows Terminal (Admin).
- Check Windows Package Manager (winget):
- Ensure the Windows Package Manager (
winget) is installed. - Type
winget --versionand press Enter. - If not installed, update Windows 11 to the latest version.
- Ensure the Windows Package Manager (
- Search for iTunes:
- Type the following command to find iTunes in the repository:
winget search iTunes - Note the package name (usually
Apple.iTunes).
- Type the following command to find iTunes in the repository:

- Install iTunes:
- Run the following command to install iTunes:
winget install Apple.iTunes - Confirm any prompts to proceed with the installation.
- Run the following command to install iTunes:

- Launch iTunes:
- Once the installation is completed, type
iTunesin the Windows 11 search box, as its icon appears, click to open it.
- Once the installation is completed, type
Common Post-Installation Tasks
- Sign In: Use your Apple ID to access your music, movies, and purchases.
- Authorize Your PC:
- Open iTunes and go to Account > Authorizations > Authorize This Computer.
- Sync Devices: Connect your iPhone or iPad via USB to sync data or create backups.
Troubleshooting Tips
- Installation Errors: Ensure your Windows 11 is updated to the latest version.
- Winget Command Not Found: Update Windows Package Manager or install it manually.
- iTunes Not Opening: Reinstall iTunes or check for updates in the Microsoft Store.
Conclusion
Installing iTunes on Windows 11 is not complicated, as we already have seen. However, most of you wouldn’t know the command line method, but now you have learned it. On the one hand, the command line is the fastest way, and the other GUI method is user-friendly; choose the one you think suits you. Once installed, you can manage your media library, sync iOS devices, and enjoy all iTunes features.
Other Articles:

