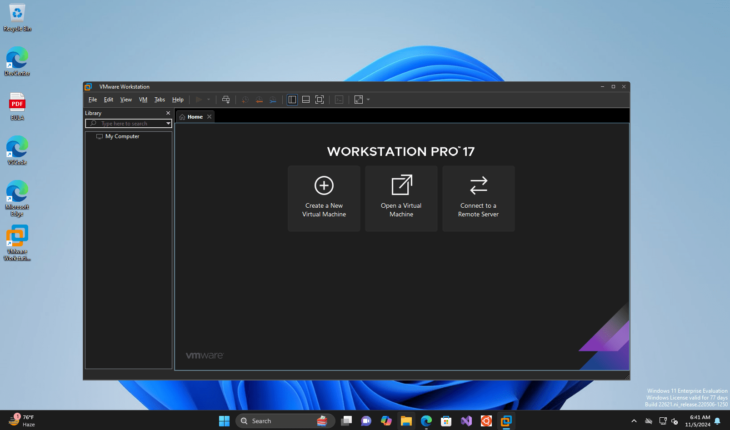
Install the VMware workstation player or Pro on Windows 10 or 11 to run virtual machines and get a free VirtualBox alternative.
Earlier, VMware Player was only accessible for personal purposes without paying any license cost, but now it’s also available for Workstation Pro.
VMware doesn’t need an introduction; it is already quite a popular and well-known software provider for virtualization technologies. Although most of VMware’s software is paid, Workstation Player and Pro are for personal usage only, so we can use them without paying anything.
VMware Workstation Pro is a powerful software for creating virtual machines that run multiple machines at once to harness the true power of a physical machine. It is available for Windows and Linux systems and comes with a wide range of features, such as:
Vmware Workstation Pro key features:
- Multiple OS Support
- Supports a wide range of guest OS versions.
- Create and manage complex virtual networks and multi-tier architectures.
- Advanced hardware support includes virtual CPUs, memory, and enhanced graphics.
- Optimized for performance and scalability with features like multiple cores and high memory allocation.
- Integration with VMware vSphere and VMware ESXi for hybrid environments.
- Support for drag-and-drop file transfers between the host and guest OS.
- Customizable virtual networks and support for network simulation.
- Encrypted VMs and secure access controls.
- Options for NAT bridged and host-only networking.
- Clone VMs for easy replication and distribution
- Take snapshots of VMs to save their state and revert to previous states if necessary.
Installing Vmware Workstation Player or Pro on Windows
1. System Requirements
Before installing VMware Workstation Pro on Windows 11 or 10, ensure your system meets the minimum requirements:
- Processor: A 64-bit x86 Intel or AMD processor with a minimum of 1.3 GHz.
- Memory: At least 4 GB of RAM, but 8 GB or more is recommended for better performance.
- Storage: 1.5 GB of free disk space for the application, plus additional space for each virtual machine.
- Operating System: Windows 11 or any 64-bit version of Windows 10 or newer.
- Hardware Virtualization Support: Intel VT-x or AMD-V enabled in BIOS/UEFI.
Note: VMware Workstation Pro may run without hardware virtualization, but performance will be limited. Also, make sure Windows Hypervisor Platfrom and Virtual Machone Platfrom options are not enabled in the “Turn Windows feature On or Off” section for optimial performance.
2. Download VMware Workstation Pro Windows
Choose the method that best suits you to download the latest version of VMware Workstation Pro or VMware Player.
#1st way using some third-party website:
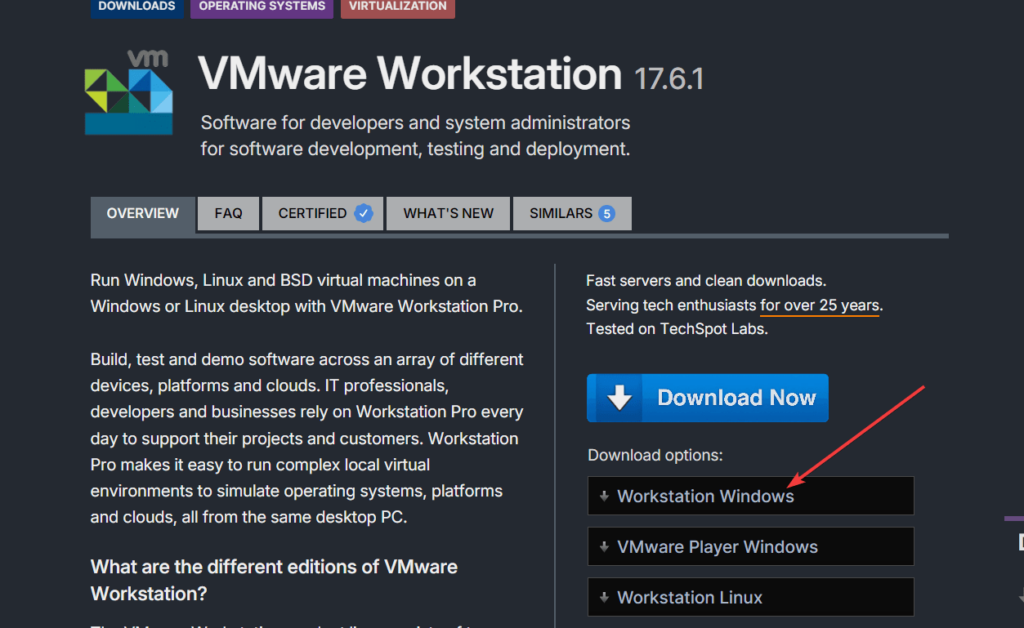
VMware Workstation Pro (for personal use) can no longer be downloaded from the official website. To get it, you must visit Broadcom or a third-party software distribution website. So, visit the “TechSpot” VMware Workstation download page. Click on the Windows version and download it. Unlike Broadcom, on TechSpot, users don’t need to register an account with a company email ID to download the pro version of VMware Workstation.
#2nd- Using BroadCom’s official website:
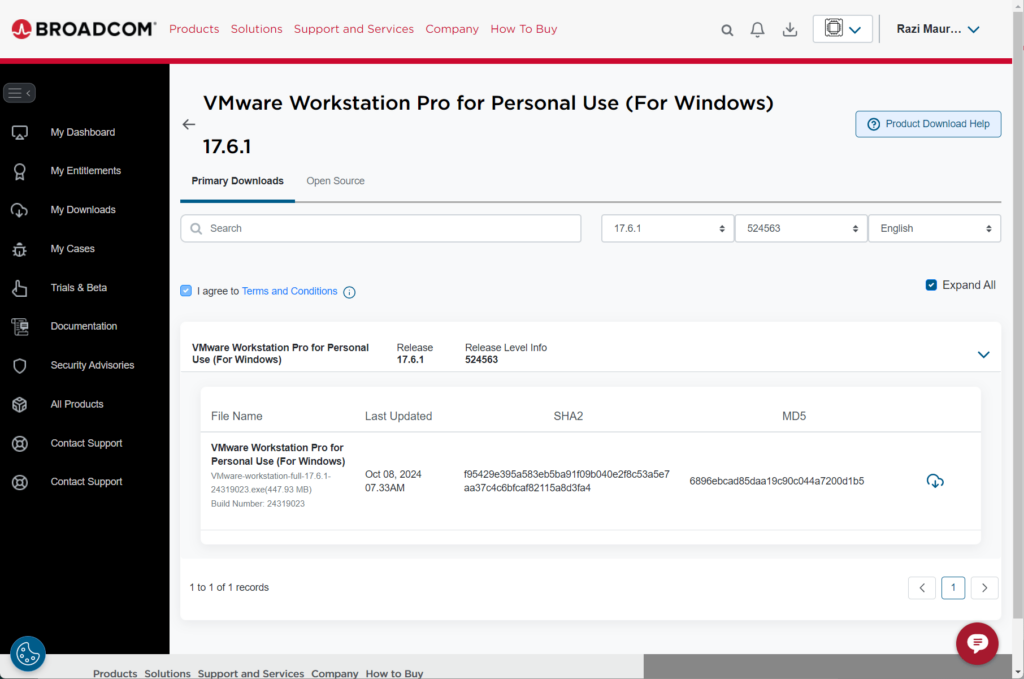
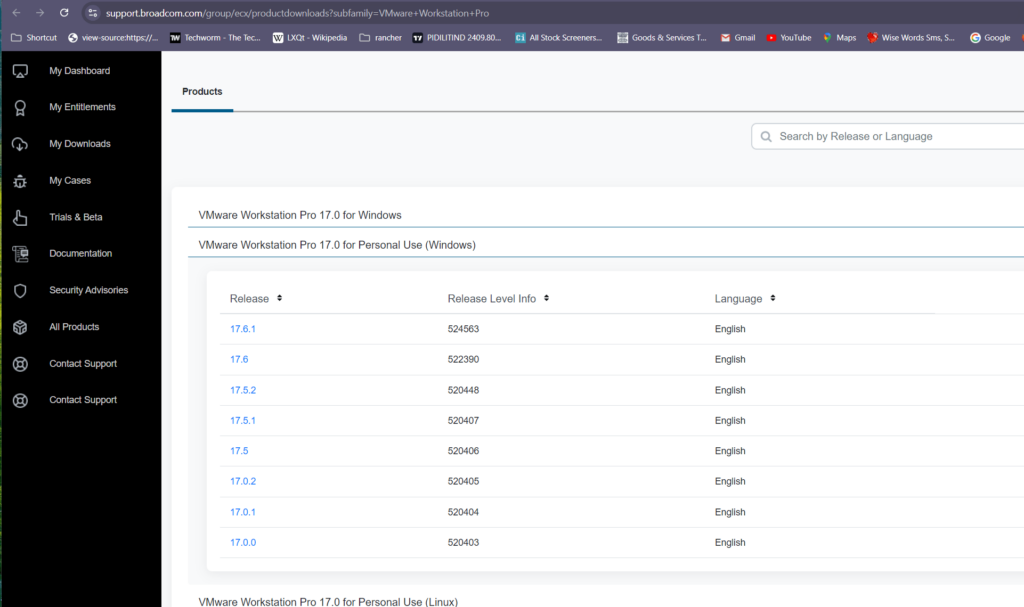
Unlike VirtualBox, VMware Workstation is not available directly for installation through the Winget repositories. Moreover, earlier Workstation was available on the official VMware website, but now it is on Broadcom, as it has purchased it. Therefore, one can officially download the VMware Workstation Pro from Broadcom after creating a user account. Thus, use this link to create an account. Once you have made the account, click the same link again to access the VMware product download page.
After that, from the download page of Broadcom, you can quickly get Vmware-related products.
Note: Before downloading, check out the second step…
3. Installing VMware Workstation Pro
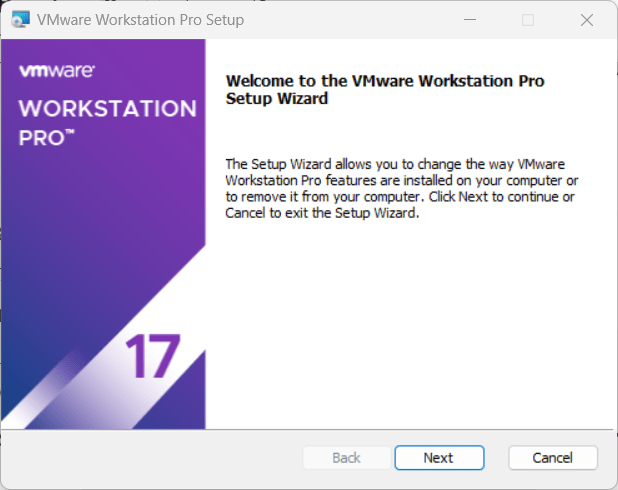
As usual, after getting the executable setup for Vmware Workstation Pro, double-click on it to start the installer.
- Run the Installer: Locate the downloaded .exe file in your Downloads folder or where you saved it. Double-click the installer to begin.
- Accept the User Account Control Prompt: When prompted, allow the installer to make changes by clicking Yes.
- Start the Installation Wizard: The VMware Workstation Pro setup wizard will appear. Click Next to proceed.
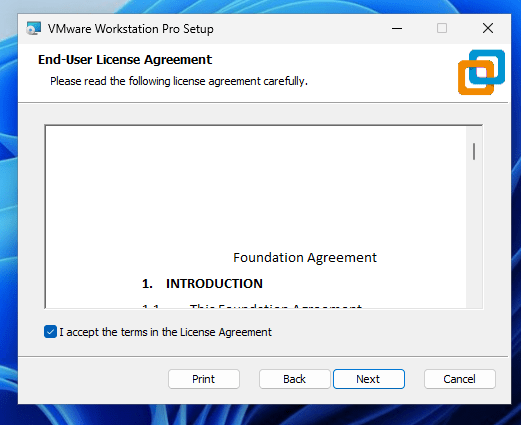
- License Agreement: Read and accept the license agreement terms and click Next.
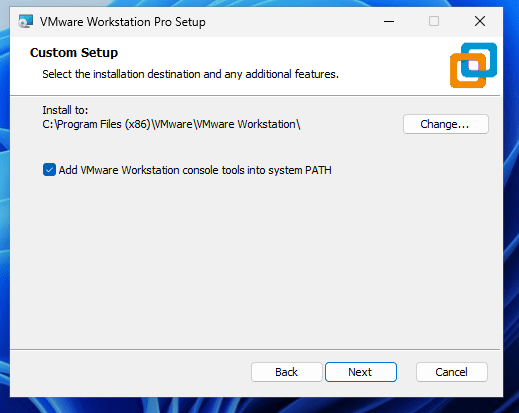
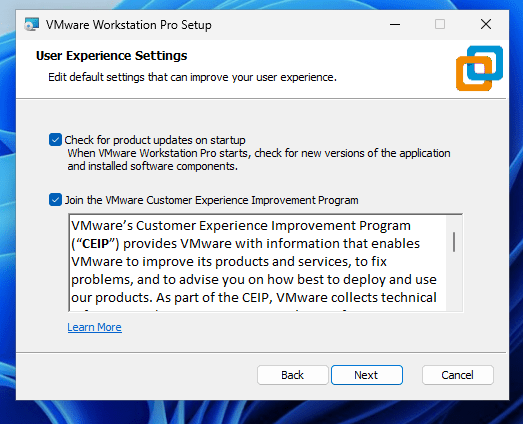
- Choose Installation Options:
- Check for product updates on startup: This option keeps the software updated.
- Join the VMware Customer Experience Improvement Program (optional): This allows VMware to collect data to improve user experience.
- Click Next to continue.
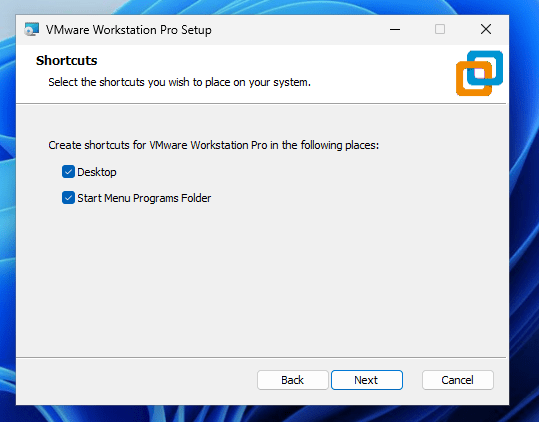
- Create Shortcuts: Choose whether to add a desktop shortcut and a Start menu shortcut.
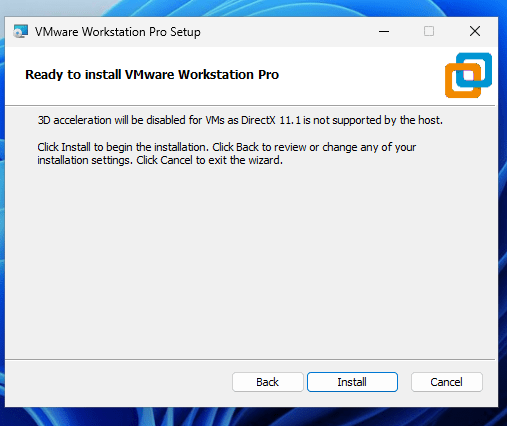
- Install VMware Workstation Pro: Click Install to begin the installation. The installer will copy the necessary files and configure VMware Workstation Pro.
- Finish the Installation:
Once complete, you’ll see an option to Restart Now or Restart Later. It’s best to restart immediately for the settings to take effect.
Setting Up Your First Virtual Machine on Vmware Pro
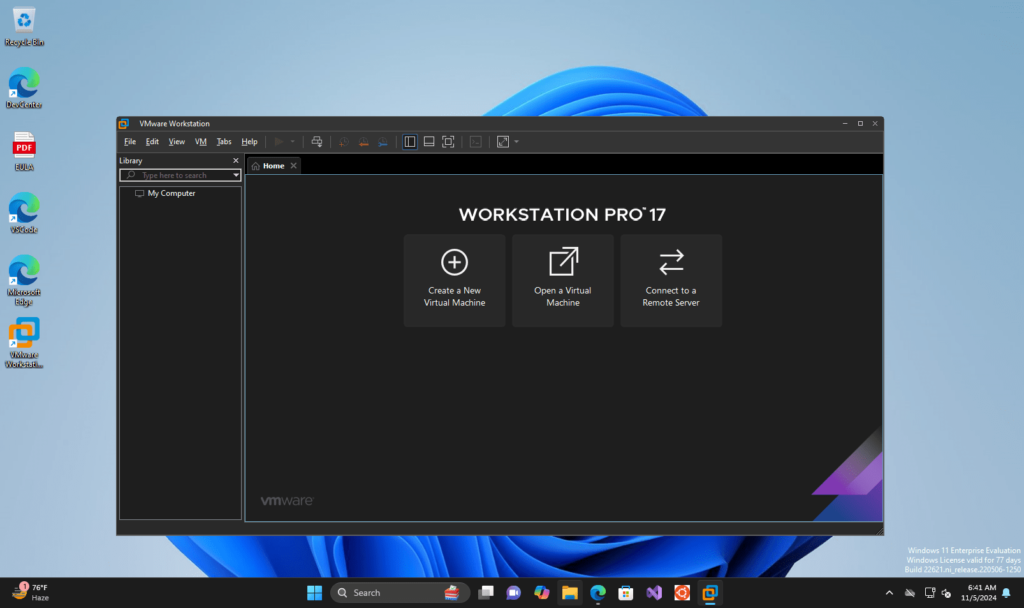
After installation, you can set up your first virtual machine on VMware Workstation Pro. Alternatively, you can also check out our step by step guide to install Kali Linux on Vmware Player.
- Launch VMware Workstation Pro:
- Open VMware Workstation Pro from your desktop or the Start menu.
- Create a New Virtual Machine:
- Click File > New Virtual Machine, or click Create a New Virtual Machine on the main screen.
- Choose Typical (recommended) and click Next.
- Select the Installer Disk Image (ISO):
- You can use a physical installation disc or an ISO image or install the OS later.
- Select Installer disc image file (ISO), browse to locate your ISO file (e.g., for Windows, Linux, or macOS), and click Next.
- Select the Operating System:
- VMware Workstation will detect the OS type based on your ISO. Confirm or select the OS type manually if needed.
- Click Next.
- Name Your Virtual Machine:
- Give your virtual machine a name and specify the location to save it.
- Click Next.
- Allocate Disk Space:
- Assign disk space for the virtual machine. VMware recommends at least 20 GB.
- You can store the virtual disk as a single file for performance or split it for ease of transfer.
- Configure Hardware Settings (optional):
- Before finalizing, click Customize Hardware to allocate more CPU cores, memory, or additional settings based on your system’s capacity.
- Click Close when done.
- Finish Setup:
- Click Finish to complete the setup.
- Start your virtual machine by selecting it and clicking Power on this virtual machine.
If you encounter issues during or after the installation, here are a few tips:
Ensure the operating system you’re trying to install in VMware is compatible with the version of VMware Workstation Pro.
- Enable Virtualization in BIOS/UEFI:
- Ensure Intel VT-x or AMD-V is enabled in your BIOS/UEFI settings for optimal performance.
- Update VMware Tools:
- After creating a virtual machine, install VMware Tools from the VM menu to improve performance, graphics, and device integration.
- Adjust Virtual Machine Settings:
- If the virtual machine is sluggish, allocate more memory or CPUs or adjust other settings in Customize Hardware for better performance.
- Check Compatibility:
- Ensure the operating system you’re trying to install in VMware is compatible with the version of VMware Workstation Pro.
Other Articles:

