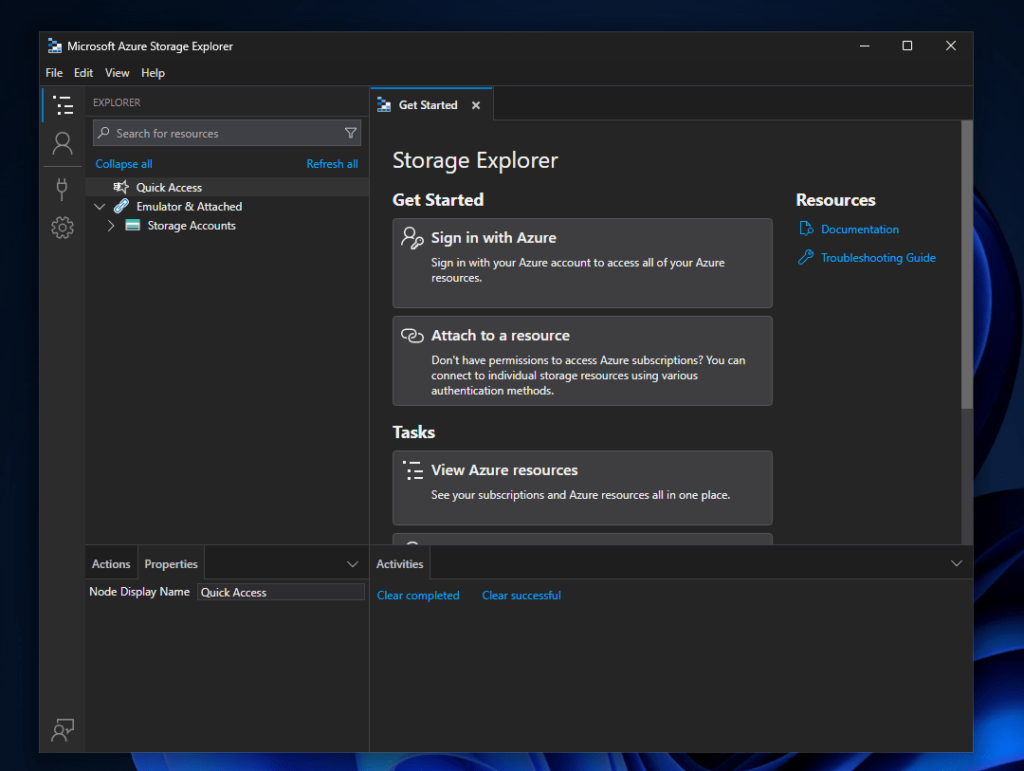
Azure Storage Explorer is an application offered to developers and IT professionals to enable them to manage their Azure cloud Storage accounts from their Windows operating systems. It provides a graphical user interface with a range of functionality, from viewing and organizing storage resources to securely accessing and transferring data across Azure Blob, Queue, Table, and File storage.
For those who want to install Azure Storage Explorer on Windows 10 or 11, WinGet is the quickest way. In this tutorial, we learn how to use the Winget command line to get seamless access to your Azure storage resources right on your Windows machine.
Step 1: Open the Command Prompt or PowerShell
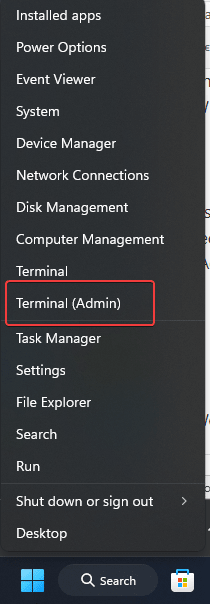
We need to run the Windows Terminal with administrative rights; to do so, right-click the Windows Start button and select the “Terminal (Admin)” option.

Step 2: Search for Azure Storage Explorer Package
Although not necessary, it would be a great idea to confirm the exact name and version of the software we will install using Winget. Execute the given command on your PowerShell or CMD. This lists the available packages related to Azure Storage Explorer, including any specific versions.
winget search "Azure Storage Explorer"
Step 3: Install Azure Storage Explorer
Run the following command to install Azure Storage Explorer:
winget install Microsoft.Azure.StorageExplorer
Step 4: Verify Installation
To verify the installation of Azure Storage Explorer is completed, follow the given steps:
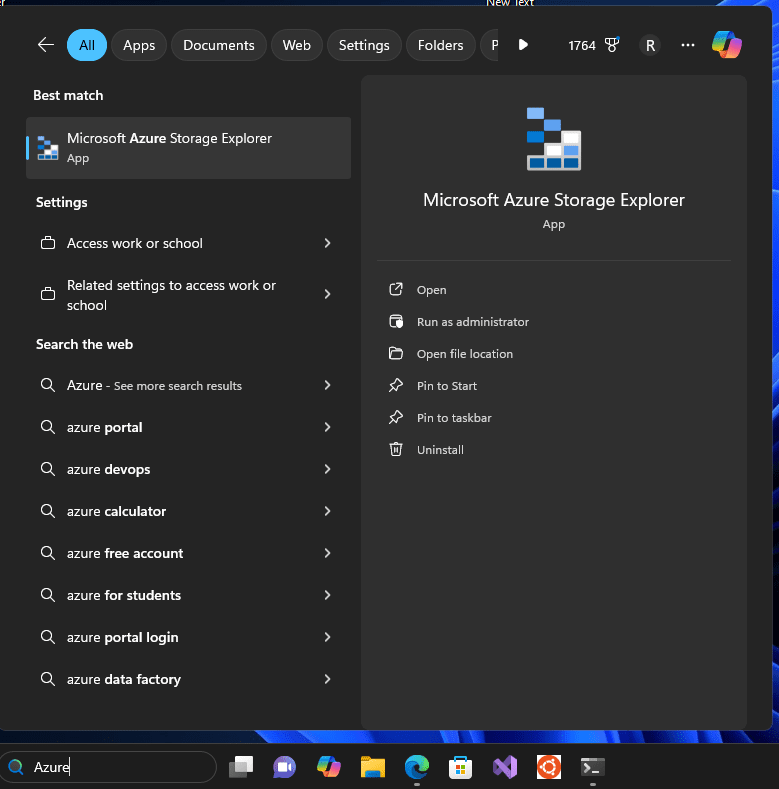
- Open the Start Menu and type “Azure Storage Explorer.”
- Soon, it appears in the search results
- Click on its icon to open the application.


Step 5: Update or Uninstall Azure Storage Explorer (Optional)
To keep Azure Storage Explorer up-to-date, you can run the following command:
winget upgrade --id Microsoft.Azure.StorageExplorerIf you ever need to uninstall it, you can use:
winget uninstall --id Microsoft.Azure.StorageExplorerConclusion
Using WinGet Installing Azure Storage Explorer is quick and easy to upgrade or uninstall. You can now start managing your Azure resources on Windows.
Other Articles:


