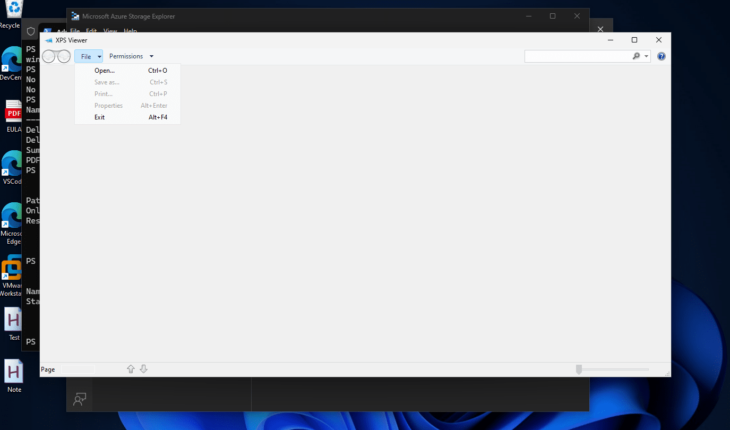
In Windows 11, users won’t get some functionalities they had earlier in older versions of Microsoft Windows OS, like the XPS viewer. So, users need to install it manually because it doesn’t come as a pre-installed application.
Installing XPS Viewer on Windows 11 will allow users to view XPS files, an XML-based file format created by Microsoft as an alternative to the PDF format. An XPS file can preserve the layout, fonts, and images in a consistent format across different devices, making it ideal for document sharing and viewing without distortion. However, XPS didn’t become as popular as Microsft thought, so the XPS Viewer is now an optional feature in newer Windows versions.
In this tutorial, we learn the commands to use PowerShell to install XPS Viewer on Windows 11 for viewing “.XPS” extension files.
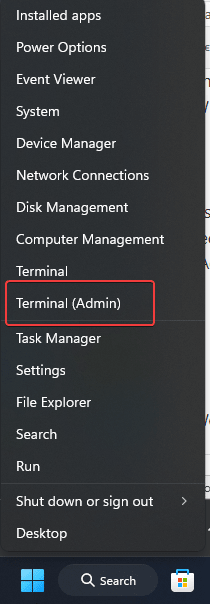
Step 1: Open PowerShell as Administrator
We need PowerShell to install the system components, so access it with administrative rights. To access the command line quickly, users can right-click on the Windows Start button and select the PowerShell (Admin) or Terminal (Admin) option.
Step 2: Install the XPS Viewer
Now, let’s use the “Add-WinodwsCapability” command of PowerShell to install the XPS Viewer on Windows 11; the process of installation may take a few minutes:
Add-WindowsCapability -Online -Name XPS.Viewer~~~~0.0.1.0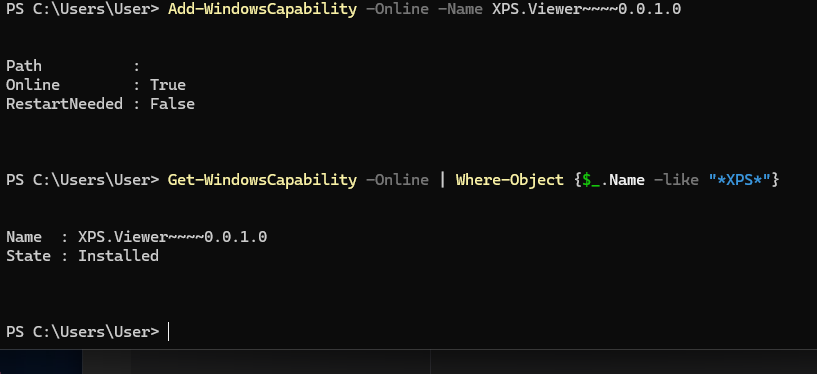
Step 4: Confirm the Installation
Once the installation is completed, we can confirm whether it is on our system by executing this PowerShell command.
If successful, the status must be “Installed.”
Get-WindowsCapability -Online | Where-Object {$_.Name -like "XPS"}Step 5: Run XPS Viewer on Windows 11
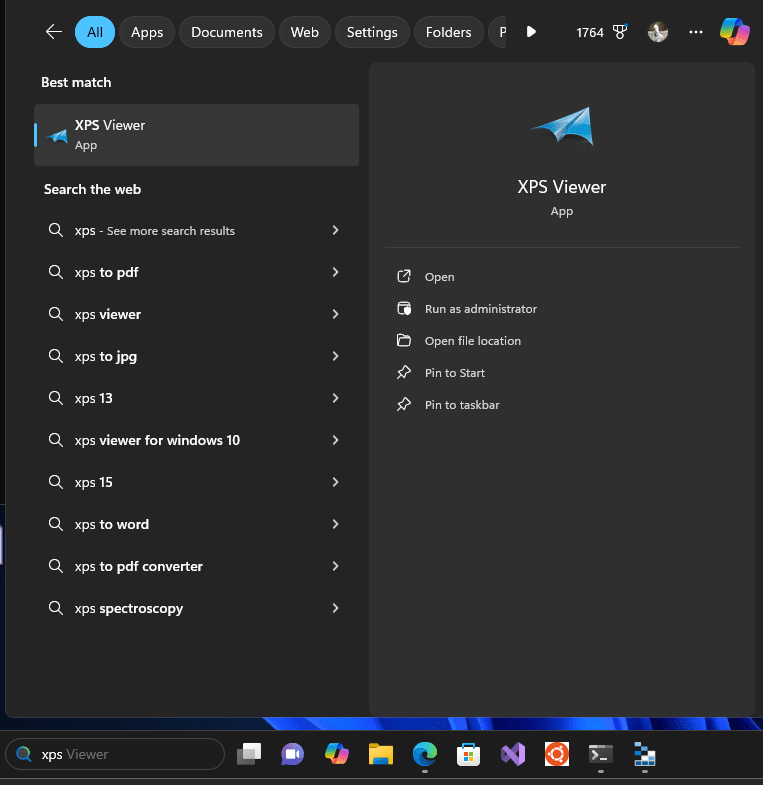
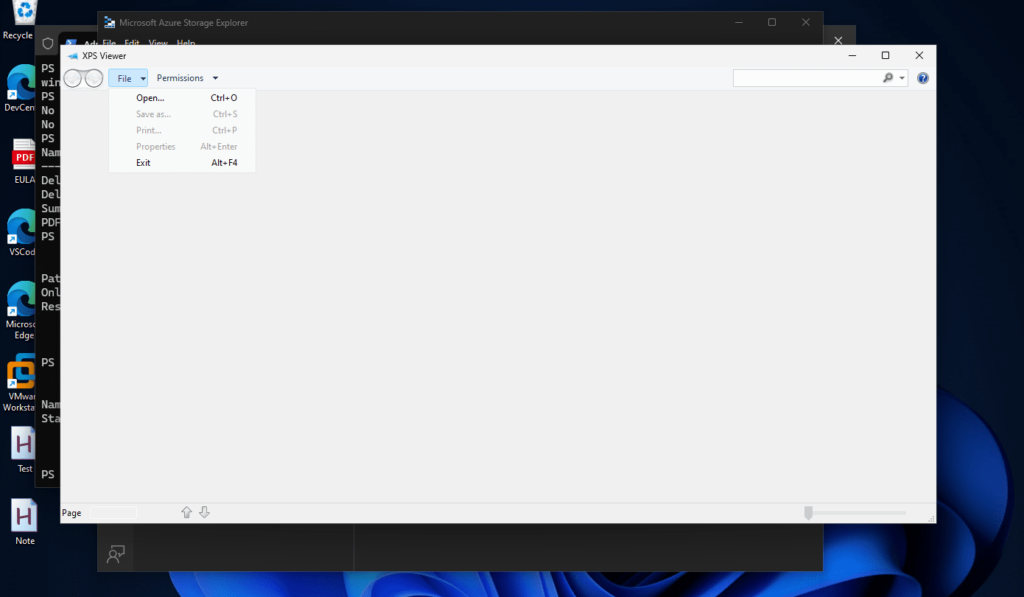
To open and use XPS Viewer, go to the Windows 11 Search box and type its name. You will see its icon in the results. Alternatively, you can simply double-click any .xps file, which will open automatically with the XPS Viewer.
Tips for Common Issues: If the installation fails, here are a few things you can try:
- Ensure you are internet-connected, as Windows may need to download necessary files from Microsoft’s servers.
- Use Windows Update to ensure your system is up to date, as some updates may be required to install XPS Viewer.
- Restart PowerShell and try rerunning the command if you encounter any issues.
Optional: Remove XPS Viewer
When you no longer need the XPS viewer on the system or if it is creating problems, use the given command in PowerShell to completely uninstall it from Windows 11.
Remove-WindowsCapability -Online -Name XPS.Viewer~~~~0.0.1.0Conclusion
The approach we have discussed in this article is the quicker way to manage the XPS Viewer on Windows 11 using PowerShell, offering a convenient method for both installation and uninstallation.
Other Articles:

