

Account Lockout Policy on Windows 11 or 10 is an essential security feature designed to stop unwarranted access to your computer system by locking out the account after multiple failed login attempts. Even you may have experienced it already when you tried to log into your Windows 11 account with the wrong password, and after several tries, you found yourself locked out. Frustrating right?
However, if you want to customize the Account Lockout Policy on Windows 11 either to increase the limit or reduce the lockout time, set the maximum or minimum password age, password length, or something else, then in this tutorial, we discuss three easy ways to do that. Whether you’re using Windows 11 Pro, Enterprise, or even Home, you’ll find a method that works for you!
Why Modify the Account Lockout Policy?
By modifying the Lockout Policy on Windows, users can:
- Prevent accidental lockouts due to mistyped passwords.
- Enhance security by limiting brute force attacks.
- Customize settings based on your security preferences.
Method 1: Using Group Policy Editor (For Pro & Enterprise Users)
Those who are using the Windows 11 Pro or Enterprise versions can easily use the Group Policy Editor (gpedit.msc) feature to customize the options of the Account Lockout policy to make it work according to their needs. Here are the steps to follow:
Steps to Change Account Lockout Policy:
- Open Group Policy Editor: We can use the keyboard shortcut to do that. Press
Win + Rto open the Run box, and then in that type gpedit.msc, and hit the Enter key.
- Navigate to Account Lockout Policies:
Computer Configuration > Windows Settings > Security Settings > Account Policies > Account Lockout Policy
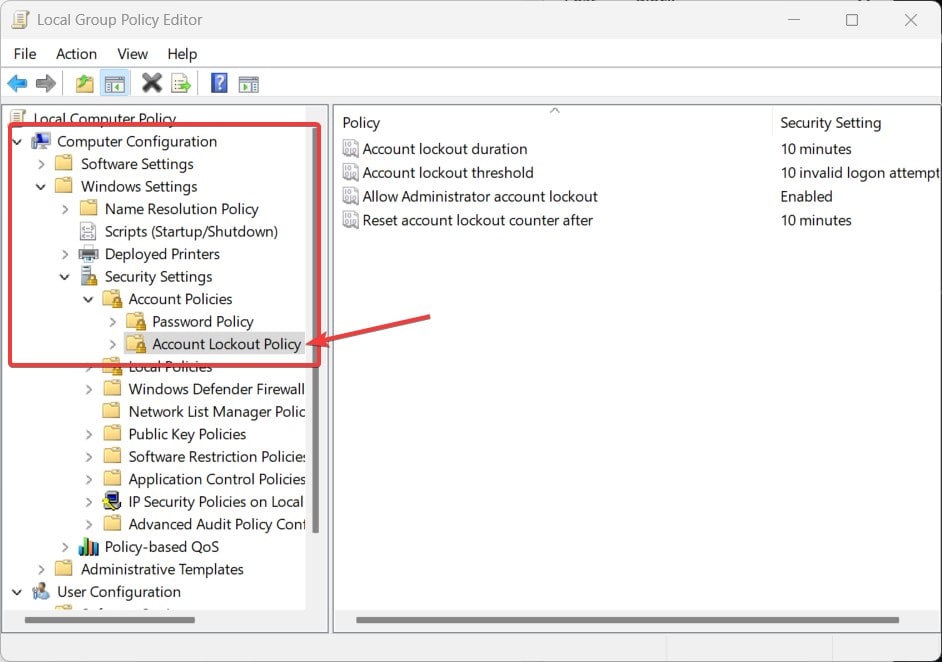
- Modify the given settings by double-clicking each on the right-side panel. Click Apply > OK to save them:
- Account lockout threshold – set the number of failed attempts before lockout. By default, it will be 10, which means that after 10 unsuccessful attempts, the system will lock out the user account.
- Account lockout duration – It is to set the time (in minutes) before the account unlocks automatically; by default, it will be 10 minutes. This means that after the system locks a user, how much time will it take for the system to allow that user to log in again?
- Reset account lockout counter after – Time (in minutes) before failed attempts are reset.
Once you are done, restart your PC to ensure the changes take effect.
📌 Pro Tip: Setting the threshold too low (e.g., 3 attempts) can be inconvenient while setting it too high can compromise security. A good balance is 5-10 attempts.
Method 2: Change Account Lockout Policy Using Command Prompt
If you’re using Windows 11 Home, you may not have access to the Group Policy Editor. However, there is nothing to worry about; we can still change the Account lockout policy settings using Command Prompt (CMD). This method will work on all versions of Windows.
Steps to Change Account Lockout Policy via CMD:
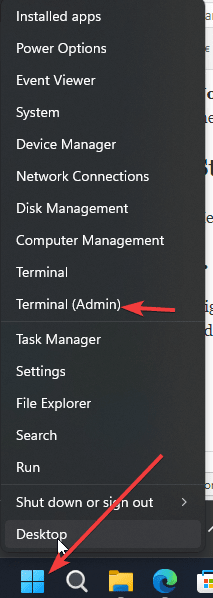
- Open Command Prompt as Administrator: We can start it by typing cmd in the Windows Start menu, right-clicking Command Prompt and selecting Run as Administrator, or right-clicking on the Start button and selecting the “Terminal (Admin)” option.
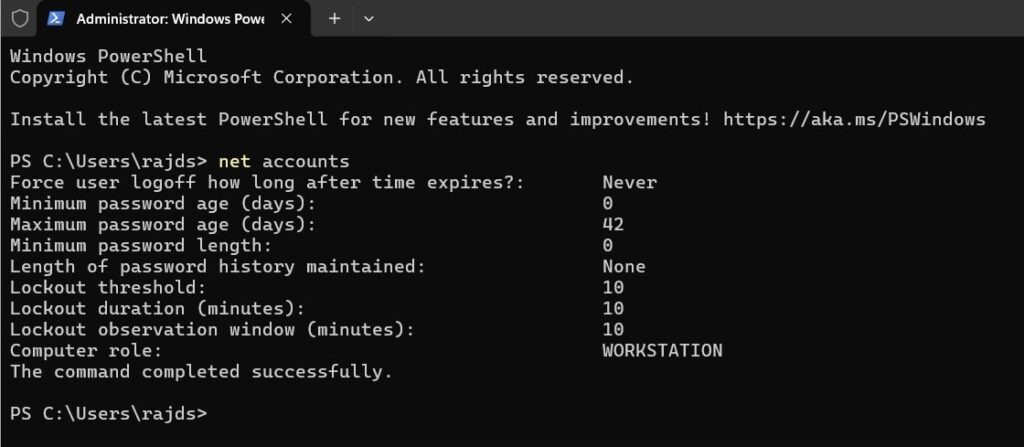
- Check Current Lockout Settings:
net accountsThis will display the current lockout policy settings.
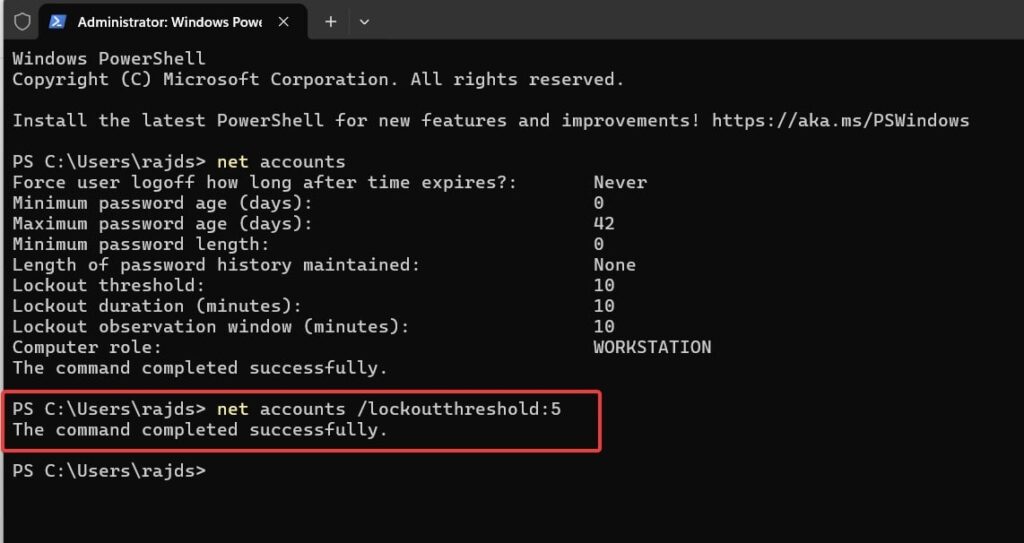
- Set Lockout Threshold (Failed Attempts Before Lockout):
net accounts /lockoutthreshold:XReplace X with the number of allowed attempts (e.g.,net accounts /lockoutthreshold:5).
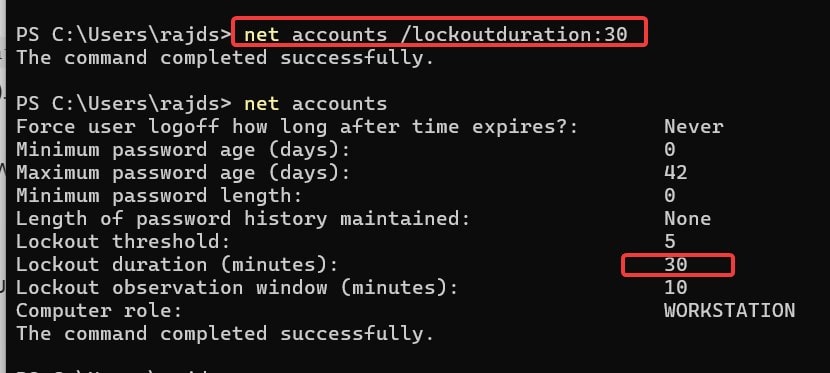
- Set Lockout Duration (Minutes Before Auto-Unlock):
net accounts /lockoutduration:XReplace Y with the number of minutes (e.g.,net accounts /lockoutduration:30).
- Set Time to Reset Failed Attempts: Similarly, as we have changed the Time and threshold, to set the failed attempts value using the command, use-
net accounts /lockoutwindow:XReplace X with the reset time in minutes (e.g.,net accounts /lockoutwindow:10).
- Confirm the Changes:
net accountsVerify that the new settings have been applied successfully.
✅ No restart required! Changes take effect immediately.
FAQs
Q1: What is the default account lockout policy in Windows 11?
The default setting locks an account after 10 failed login attempts and unlocks it automatically after 30 minutes.
Q2: Can I disable account lockout completely?
Yes, you can set the lockout threshold to 0 using any of the methods above, which disables account lockout.
Q3: Why should I increase the account lockout threshold?
A low threshold might cause unnecessary lockouts if you frequently mistype your password. Increasing it to 5-10 attempts is a balanced approach, hence increasing Threshold will be a good idea.
Q4: Does changing the lockout policy affect all user accounts?
Ofcourse, any changes made will be applied to all local user accounts on your Windows 11 system.
Conclusion
The option to change the Account Lockout Policy in Windows 11 or 10 will be an excellent feature for a good balance of security and usability. Hence, whether you use Group Policy Editor or Command Prompt Editor, you can customize the settings to suit your needs.
🔹 For Pro & Enterprise Users: Use Group Policy Editor (Recommended).
🔹 For Home Users: Use Command Prompt (Easiest method).


